
I decided to use my new baby to make a Christmas tree skirt. I had a fq of each of these Michael Miller Christmas fabrics. A yard of the dots for the binding, a yard of the trees for the backing and I'd say a little less than a yard of Kona white for the blocks and sashing. I still have some left over block pieces to play with in some other project ideas I have been thinking about.

Using the GO! Baby and the Drunkards Path die I cut all of the pieces for my blocks. I can truthfully say I was super happy not to have to cut all those out ;o)
Lay your fabric on the mat
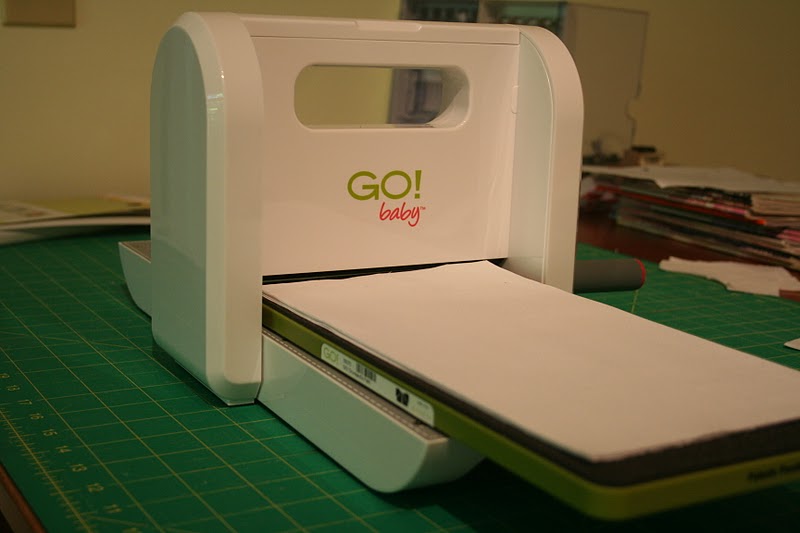
Place the protective may over the top

Turn the handle

And out pop your pieces! Brilliant!!!!!!!

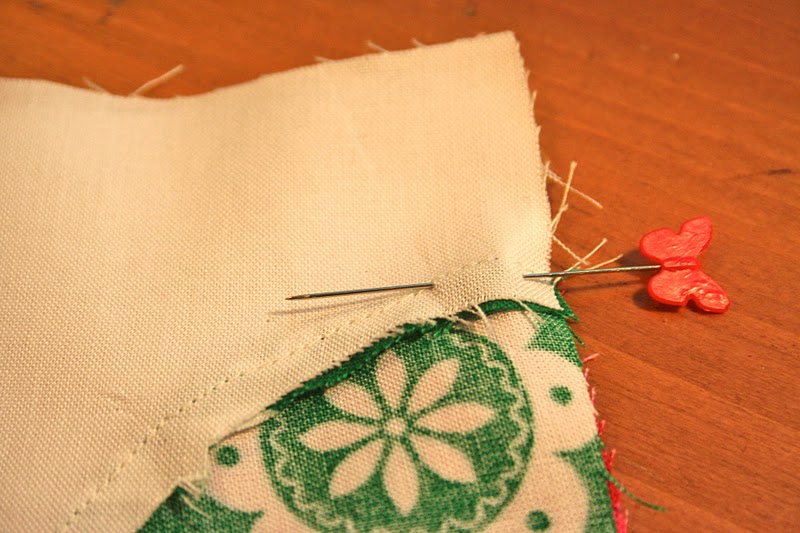
I am certain there are some quilters that can sew these without pinning but I am not one of them. I needed that extra staying power of the pins. That and my fat fingers kept getting in the way.


After pinning assembling the blocks is super easy. Start at the same place you starting pinning and sew around. I think of it from left to right.

This is what one quarter of your block will look like.
Back

Front

Choose four that you like and start assembling

Pin the top
Sew them together

Press seams opposite to make lining up easier. This works for me but I know other people like seams open.

put them together right sides facing

Line up your middle, pin it together and sew

The block is done

I decided to use a skirt that I already have for a template.

Made sure to trace the opening

And I increased the size of the opening for the tree truck. I used a small Revereware pot lid that I have.

Laid out all my finished blocks


It was then that I decided that the fabric was screaming for something... RICK RACK or ric rac :o) The local fabric store was out of the by the yd kind so I bought five of these and only needed three. Always nice to have leftovers.

I pinned the ric rac to the top of each row

Sewed it on one row at a time.


Now you are ready to cut the skirt out


This is when I decided to add the sashing. I could not find an online tutorial for sashing for a circle quilt so I just made 4 inch bias cut binding strips that I attached with more ric rac. Once you start with ric rac it is really hard to stop!

This is when I discovered that when you add four inch binding to a circle quilt you get a Christmas tree BOWL! I ended up folding it in half and that made it much more manageable.

Then I pinned the edges into submission!!!!!


I quilted it and then traced the opening of the skirt onto the quilt.

Save this part...you'll see why ;o)

Here is where I learned a really great lesson...figure out how and where you are putting your ties before you add your binding. If I were to redo this part I would have marked where my ties were going and added them on the way.
I added my ties about one inch down from the corner under the binding and then secured by flipping it back over the binding and sewing it down.


After the ties are on then you are DONE!!!!!!


I cannot wait to see this on my tree this year!!!!!
and this is why I said keep the circle...
MUG RUG!!!!!!


Kim :o)

No comments:
Post a Comment