Showing posts with label sewing. Show all posts

Wednesday, March 27, 2013

tulle pom-poms + garland tutorial


I promised a tutorial after my last post. It took a little longer than anticipated. I ended up having my granddaughter, Madi, spend two whole days with me. I like to give her my full attention when she visits. She's also a talker, so getting anything done is a little difficult. :) She is seriously one of the most hilarious little people I know.

Then I was called to a new position at church. I know. I did not see that coming. I loved my calling as RS Meeting Coordinator and I will miss working with so many wonderful women. More on that later.

Okay, let's get this party started.


Because I knew I would use this project often, I made a mini version of all the the pom-pom tutorials I could find. There were about six. I found this method was most simple and created the prettiest *pouf.*


SUPPLIES:
  • 6" tulle (4 yards for each pom-pom)
  • crochet thread (I tried regular thread and fishing line, but found both made it difficult to see my stitches and broke when I pulled them tight. Crochet thread works great.)
  • needle with large eye
  • scissors
  • Fishing line for garland. (I just used what was in the garage, 12 lb. test)

INSTRUCTIONS:
  1. Cut four yards of tulle and approximately 3 feet of crochet thread. Thread your needle and tie a nice big knot at the end so you don't accidentally lose your gathers.
  2. Make a running stitch (up, down, up, down) the full length of the tulle, gathering lightly as you go. Make your stitches about 1/2" and 1/2" inch apart. Don't worry about keeping completely straight, it all works out in the end.
  3. Gather the tulle tightly on the string, making sure it's not twisted.
  4. Tie a knot with the two ends (pull together tightly), then tie a few more for good measure.
  5. Twist and pull on the layers to form a pom-pom.
Yep, it's that simple.


To make a garland, simply stitch through the center of each pom-pom with monofilament (fishing line). I use clear 3M hooks to hang mine. We leave the one in Ella's room up all the time. Both Kate and Tayler want to make garlands for their little's rooms after seeing this one. I feel some girls' time coming on. :)


MINI POM-POMS
I made mini pom-poms for our spring RS birthday party. I wish I'd known about these pre-cut 3" rolls then, it would have saved me a lot of time and grief. 


The process for mini pom-poms is the same, with one slight difference. Instead of one strip of tulle, you will cut two strips approximately 60" long, and layer them on top of each other before stitching. Gather your tulle tightly and tie the string in multiple knots.


Couldn't be more darling. :)

ADDITIONAL IDEAS FOR POM-POMS:
  • Use as decor for baby showers, birthday celebrations, weddings, and little (or big) girls' rooms.
  • Attach to a dowel and add ribbon for an instant fairy wand.
  • Tie mini pom-poms to bare branches for spring decor.
  • Use to top a gift in place of a bow. (Totally doing this for birthday parties.)
  • Attach to a little girl's headband for a "pouf" of style.
Any other ideas?

SOURCES:
Paper Mart is my go-to source for tulle. The 25 yard rolls at my local craft stores are $4.99. Paper Mart has them for $1.35, and it's the same quality. The garland I made for Ella's room has 12 pom-poms, so it cost me about $3.00 to make. They also have100 yard rolls of tulle, that are a quarter more than the craft store's 25 yard rolls. Even with shipping included, it's a huge savings. (And their shipping is super fast.)

I just noticed Paper Mart has added 12" and 18" pre-cut rolls of tulle. Fabulous! Thinking mega pom-poms for Ella's birthday party would be wonderful. I'll need to play around with the length.


Also check out the polka dot tulle and shimmery tulle.

Happy spring crafting.

Tuesday, March 19, 2013

a simple surprise: Easter decor


While Ella was at school the other day, I spread some Easter love around her room. She was so surprised and thought it was wonderful! 

 
This little chickie perched on her lamp was her favorite part.


A couple others just wandered around on her dresser. I bought these chicks years ago at Rod Works because I loved that they were made from chenille fabric.


This Easter egg garland couldn't be simpler. I purchased a million bags of plastic eggs on clearance last year for .25 each, so my activity day girls could make garlands for their rooms. Then I got released, and was going to give them to the new activity day leaders. My own girls, Kate (daughter), Ashlee, and Tayler (daughters in law) decided they wanted to make garlands instead. :)

The tulle garland stays up in Ella's room all the time. It's so sweet and girly. I'll share a tutorial on how to make one this week sometime.

Happy spring (finally!).

Monday, October 8, 2012

simple project | sleeve pumpkins


 Well, hello fall. Yep, it's full-on here and gorgeous in Utah.

My friend Marci and I took a little jaunt to the Heber/Midway area last week. It was so, so fun. All the way through Provo Canyon, we were ewwww-ing and ahhhh-ing over the colors of the fall leaves against the dark green of the pines.

We arrived early for Marci's appointment, so we stopped at a thrift store we really like in Heber. (We may have planned it that way. ;)) The store is called St. Vincent's.  We checked out the vintage clothing together and then split up.

I found some vintage ric rac and seam binding in really cool colors. At .25 each, I grabbed a few. And a few more.


Then I found this. EXACTLY what I was looking for. I showed it to Marci, who gave me a goofy confused look, and said, "Ummm, that's not a color or style I'm used to seeing you wear." Yes, it's pretty ugly. A total grandma sweater. (Oh wait, that's me.:)) Anyway, I had no intention of wearing it! Sheesh!

I know, I kind of gave away my intentions with my opening photo. It's called, "I'm so excited about how this project turned out I can't WAIT to show you!" I have wanted to make pumpkins from thrifted sweaters. The color and fabric of "the" sweater were perfect, but when I saw the ribbing on those sleeves, the wheels started turning.

These pumpkins are so simple to make and couldn't be more darling. And I love, love, love them. What makes them so easy is that all you're doing is gathering two ends of a tube (cut from the sleeve) and stuffing with something to weigh them down a bit and polyfil stuffing. The real pumpkin stem just makes them. You could also add a piece of branch like the fabric pumpkins in this post. I was able to create three pumpkins from each sleeve.

Ella and I went to a thrift store in our area, and found a lot more options for pumpkins. I found another sweater in the same fabric as my granny one that's a fall-ish green--kinda squash-like. Ella wanted to make her own set of pumpkins and chose a purple sparkly sweater in a different fabric. Now those are fun!

Looking for a tutorial? 


I decided to try something a little different and do my step-by-step instructions on a sheet you can download. I've copied and pasted my share of on-line tutorials so I could have the instructions in front of me or take them along to buy supplies. I thought this might make it a bit easier. What do you think? Just trying to keep it simple (wink, wink).


Ella's teacher, Marilyn Hulme, had a birthday last week. Her favorite place to eat out is Cafe Rio. (How do I know? I had her fill out the teacher questionnaire I wrote up last year.) We gave her one of my pumpkins with a CR gift card attached. I hope she enjoys it.

Happy fall!

I also shared this project here:

The 36th AVENUE

Thursday, September 1, 2011

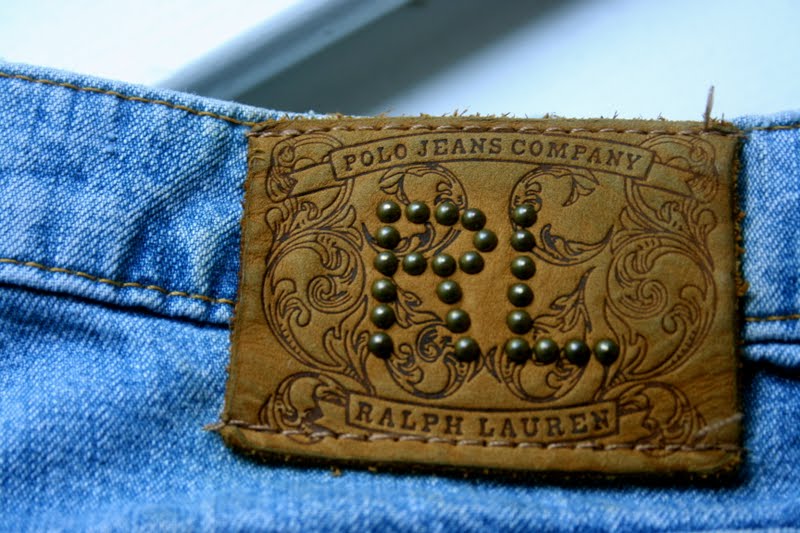
DENYSE SCHMIDT SAVES RALPH LAUREN!!!!!

It is true!!!!! For realz!!!!!!! I have my all time most favorite pair of jeans I have had for years ( and years...and years...) that you cannot buy anymore, of course, that developed a sad rip right by the back pocket ( did I mention that I went on a diet a few months ago).


My favorite pair of super perfect, I cannot live without them, Kelly jeans ( Ralph, if you are reading this can you please bring these back).


The tear that ruined them. And I am not the kinda girl that could or would ever be able to pull off the showing skin through my jeans thing ;o)

 DENYSE SCHMIDT to the RESCUE!!!!!! Bright ,beautiful and super power functional!!!!


Everyone needs a little bit of color and DS in their life :o)


So Denyse, Ralph and I were able to go out and clear some trees for stacking firewood for the winter!
Adam found a tree, more like a sapling, that he was using for a bouncy ride.


I love my boy!


Thank you Denyse for saving Ralph so that I can continue to be comfortable and get things done!


Sunday, August 21, 2011

The start of something really good!

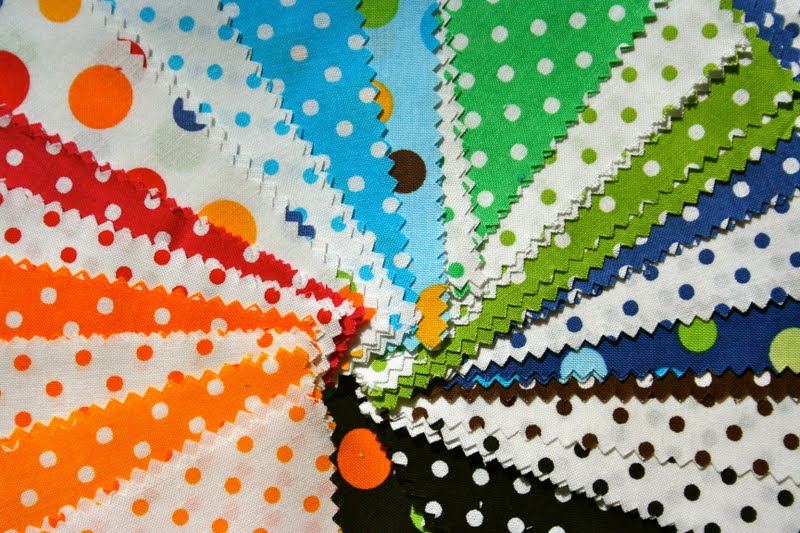
These are the dots that are the start of something really good :o) I'll share more later this week. Sara said you can never go wrong with dots...or something like that. 


Thursday, August 18, 2011

One happy George

George is a happy monkey! I was able to complete the sham yesterday. I didn't have a pattern so I was learning as I went and I am sure it took longer than it should but  George is happy so  I am happy.


I learned another cool thing about my zipper foot! When I needed to sew under the piping and have the stitches not show the zipper foot is super helpful!

The foot helps push aside the piping to allow you to get right in there and up close and it will not show at all.

Another view.

Finished pillow. Thanks for the dot support! I think they look perfect!!!!


Not only is George happy, Adam is happy too! He said' "Thanks, Mom!" I melted...


I had to stand on the dresser for this one :o) I love that it even looks good with the Heather Ross quilt!!!!


I guess I need to get back to painting now. Unless I can find another sewing project to start ;o)


Linked up to

Kim :o)

Monday, August 15, 2011

Something new for the boy's room

 A few weeks ago a tutorial was posted on I *think* Sew Mama Sew. I cannot find it now but it inspired me to  make a quick duvet cover for Adam's bed. Seems only fair that he get something new in his room with all the work going on in Katy's room


I have had this Japanese fabric (from Sara) for about a year and a half and am finally happy to have found the perfect project for it. Adam was given the choice of what he wanted and chose this one speedy quick! Junie B. Jones is making a comeback in our house ;o) I used Kona royal blue for the piping and Target had an awesome sale last week on sheets so I used a flat sheet (100% cotton) for the back. It took about 2.5 hours to complete this project.


The original tutorial used piping on the sides but I decided to add it to the top and bottom too. Not on the opening part but right up to it. I think it gives a nice look when you turn it down.


George likes it and has asked me to make some pillows to match. Maybe tomorrow George...


If someone knows which tutorial I am talking about please could you linky me????? Thanks!

Kim :o)

Sunday, August 14, 2011

Rainy days and Sundays...or Mondays( if I wanted to correctly quote the song)


Don't get me down but they sure do get in the way of painting furniture :o(


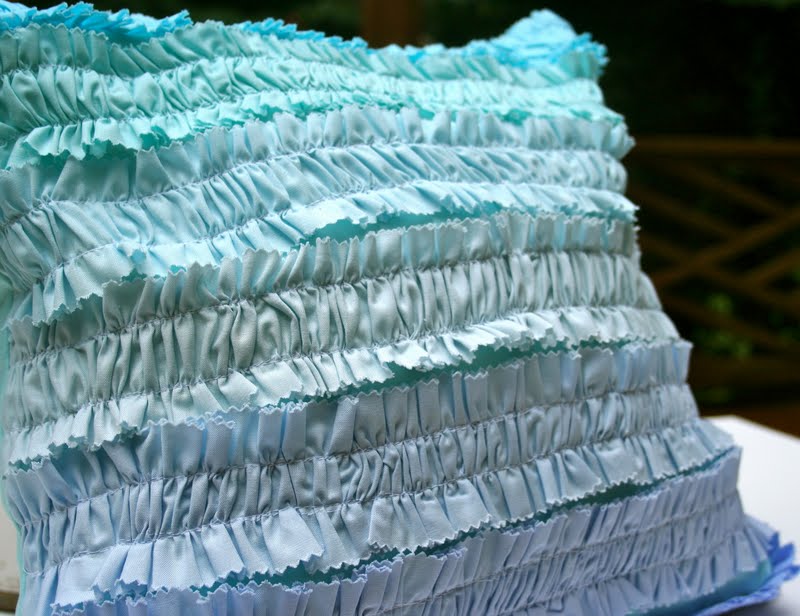
Instead I cleaned my sewing space and finished Katy's ruffle pillow!!!!!!


I used a tutorial from Midwestern Sewing Girl and changed the single row to a double row for more ruffle.  I also added a zipper instead of the envelope back.

The thing I learned is to make sure to loosen the upper thread on the machine *bang head*  I was killing my fingers and I finally took out the manual to the old girl ( the machine not me) and set the upper tension and it made all the difference in the world.


I used the Hello my name is in pastel colorway by Robert Kaufman. It made it a much easier start. Chose the colors I wanted and sewed .75 in on either side. Then pulled to make the ruffles.


I pinned the ruffles to the fabric for the pillow and sewed over the lines that made the ruffles.


Fun and easy project and I am pretty sure some white ones will be showing up in my room soon :o)

An updated photo after the  sun came out this afternoon!!!!!


This is the reason my photos are so cruddy.


Have a great Sunday!!!!!

Kim :o)

Friday, August 12, 2011

Amy Butler...I love you!

I am never disappointed with the beautiful blues and greens of Amy Butler! I decided to use them in Katy's beach room so I took the cathedral windows I was working on and turned them into a pillow for her room. It matches perfectly.


I did a sort of rugby stripe with the windows to give it a more casual teen room feel.


This is my favorite window ( the one on the left) :o)


The back


Easy zipper access 


I did half windows on the ends, I just liked the look of it.


The next pillow I will hopefully finish tomorrow after I prime the furniture.


A sea of blue!!!!!!!


Linked up at Sew Modern Monday

Also linked to Fabric Tuesday on Quilt Story


Kim :o)