Showing posts with label sewing for kids. Show all posts

Friday, September 30, 2011

A personal journal for my little guy

When we were in NC the kids had such a great time discovering everything! There were trees ( not like we do not have those in VA), fungus in aqua, orange and in all sizes, waterfalls galore, rocks and stones and loads of other things to boot.

Katy and her cousin Liz were collecting specimens of all sots of things on my grandparents property and pulled out the guide to figure them all out. I thought it would be great if they could have journals for the next time we are in the mountains to document what they found. 

Then I remembered how four year old boys sometimes forget whose journal is whose so I decided to let Adam help me make his own personal journal.


I had him write his name on a 2.5 inch scrap of Kona white and stitched over it a couple of times. It is his writing so he knows it is his and his alone :o)

Inspired by the tutorial on V and Co. and added a crayon pocket on the front since an explorer cannot be without something to write with out in nature!


The back

The inside flap


Crayons!!!!


So the next time we are here he will have a place to put treasures and notes to remember his adventure


Linking up to Sew and Tell Friday. Feel free to come and see the other great sew and tells there :o)
Kim :o)

Linking to Sew Modern Monday

Wednesday, August 31, 2011

A quick pencil bag for school


Every year I make a new pencil bag for Katy for school. She is not an over the top girly type so It is usually something in either green or blue. This year is her first year of middle school so it needed to be cool and not elementary too. I think I checked all the right boxes with this one.


I used Monaluna Circa50 that I think is fun and funky, denim, pul on the inside and I tried a plastic film that I had never sewn with before on the front to protect the outer fabric. 


The PUL inside will keep any pen breaks in the bag!

 This is the thin plastic I used to protect the front. I found it at Joann's and it is really cool. Not terrible to work with ( the pul is harder...very slippy!) and it seems to be just what is needed. There was no name on the paper but here is a photo of what it looks like.


Whew, I finished just in the nick of time ( read 10pm the night before the first day of school).


Kim :o)

Tuesday, August 30, 2011

Bouncing beach balls with pebbles (ocean not included)

I am very happy to have finished the ball quilt last night! This will be my first project that is all mine!!!! WOO HOO!!!!
Adam and Katy have fallen in love with this quilt and are now begging for their own. 


Adam was sweet enough to hold up the quilt for me.


The cute Malibu Beach monkeys laying out in the sun on the back


The binding is Malibu Monkeys beach balls. Cute little toes peeking out ;o)


A little bit of me on the quilt with love attached :o)


This was my first time trying the pebble quilting and I really love the look. It was very calming to do. I will be using this again.


On the fence since that is where all my quilts tend to end up.


All rolled up and someplace to go! Now to get this baby to Project Linus for 100 Quilts for Kids on Sept 15th :o)


Kim :o)

Sunday, August 28, 2011

Earthquakes, hurricanes, the start of school and a finished quilt top ...oh my!

It has been an interesting week here in Virginia. An earthquake, a hurricane and the start of school. With all the tizzy surrounding the first two the last one tugged at my heart strings an awful lot. My sweet baby girl started middle school. Big step for my little girl.

My heart goes out to all the people that had damage to their property from both of the natural disasters and for the loss of life in the hurricane. I hope my friends in the northeast will continue to take cover and stay safe!!!!!!!

Since I was housebound yesterday, I was able to get some work completed on the ball quilt for the 100 Quilts For Kids. If you have not checked it out please do, it is a great cause!!!!!


Yesterday I was able to complete my color blocks


Do the applique and placement


And finish the quilt top!!!!


 I think I will add sashing and start the quilting today :o)


I hope that everyone stays safe!!!!!

Kim 

Thursday, August 18, 2011

One happy George

George is a happy monkey! I was able to complete the sham yesterday. I didn't have a pattern so I was learning as I went and I am sure it took longer than it should but  George is happy so  I am happy.


I learned another cool thing about my zipper foot! When I needed to sew under the piping and have the stitches not show the zipper foot is super helpful!

The foot helps push aside the piping to allow you to get right in there and up close and it will not show at all.

Another view.

Finished pillow. Thanks for the dot support! I think they look perfect!!!!


Not only is George happy, Adam is happy too! He said' "Thanks, Mom!" I melted...


I had to stand on the dresser for this one :o) I love that it even looks good with the Heather Ross quilt!!!!


I guess I need to get back to painting now. Unless I can find another sewing project to start ;o)


Linked up to

Kim :o)

Monday, August 15, 2011

Something new for the boy's room

 A few weeks ago a tutorial was posted on I *think* Sew Mama Sew. I cannot find it now but it inspired me to  make a quick duvet cover for Adam's bed. Seems only fair that he get something new in his room with all the work going on in Katy's room


I have had this Japanese fabric (from Sara) for about a year and a half and am finally happy to have found the perfect project for it. Adam was given the choice of what he wanted and chose this one speedy quick! Junie B. Jones is making a comeback in our house ;o) I used Kona royal blue for the piping and Target had an awesome sale last week on sheets so I used a flat sheet (100% cotton) for the back. It took about 2.5 hours to complete this project.


The original tutorial used piping on the sides but I decided to add it to the top and bottom too. Not on the opening part but right up to it. I think it gives a nice look when you turn it down.


George likes it and has asked me to make some pillows to match. Maybe tomorrow George...


If someone knows which tutorial I am talking about please could you linky me????? Thanks!

Kim :o)

Saturday, April 9, 2011

Dolls deserve good diapers too!


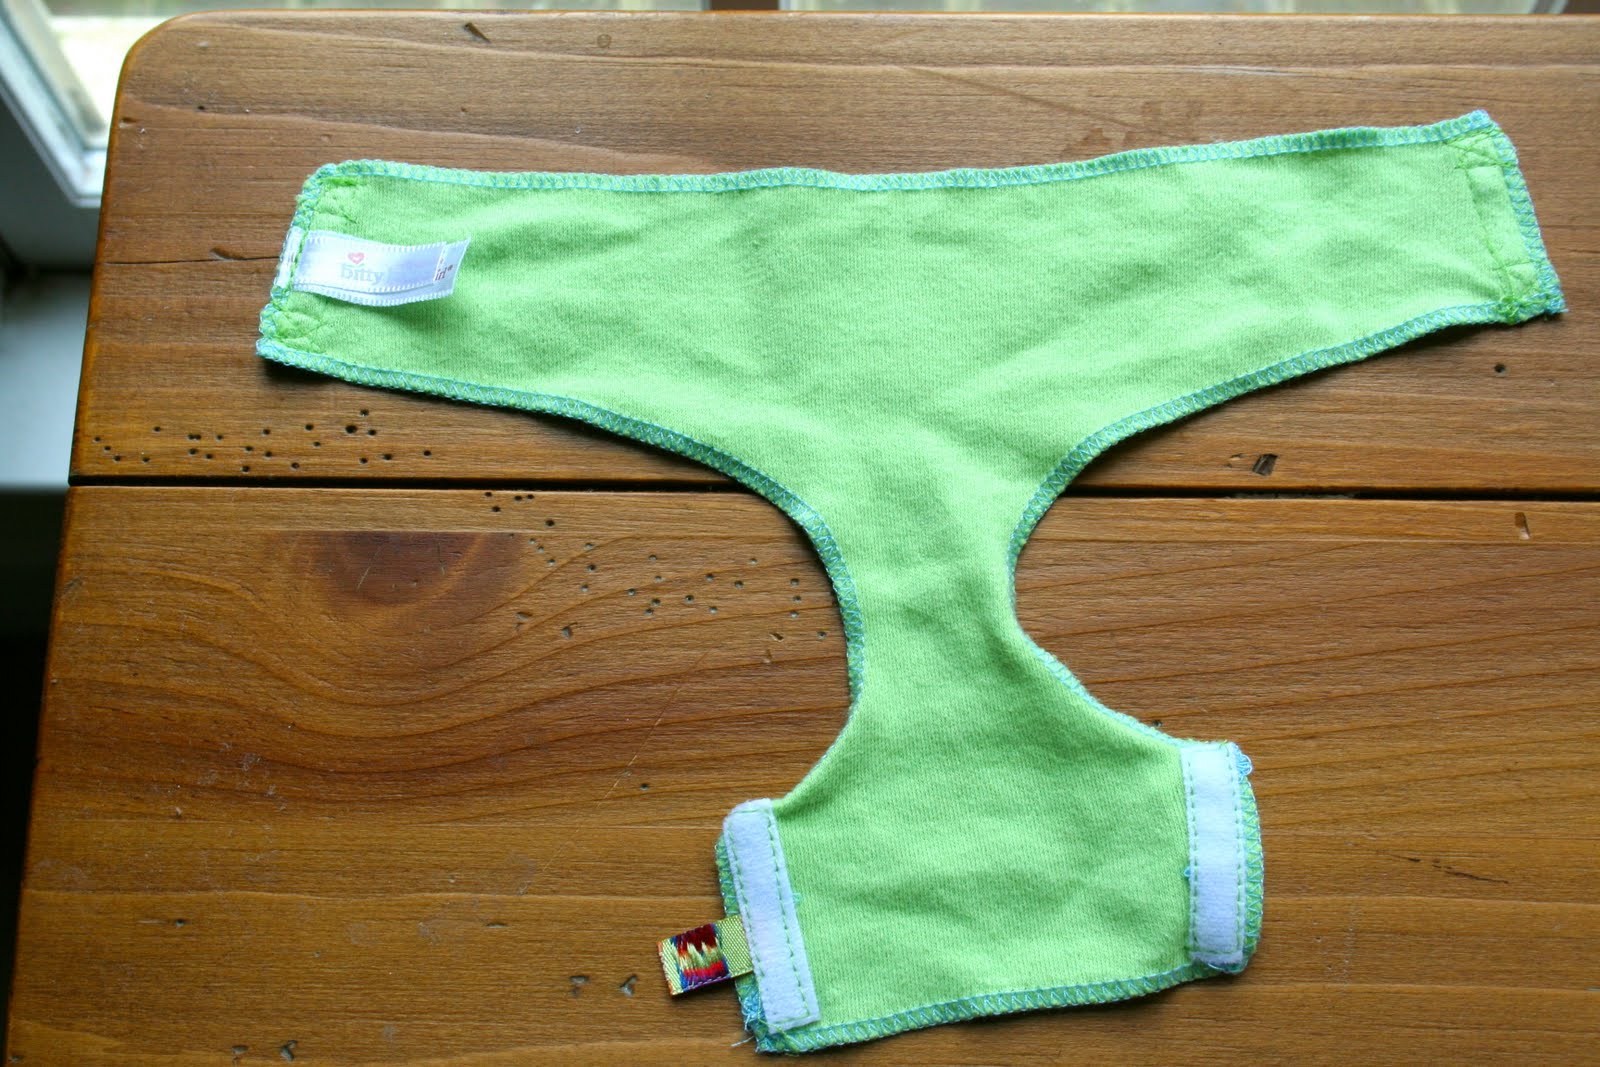
Doll diapers from American Girl suck big time! They are flimsy, not made very well and dang it they are just not cute enough to be on Katy's doll Nora. 


I found all my doll diaper making stuff and printed out this pattern. I used print knits and organic bamboo velour. Most dolls will never feel the joys of obv but it is simply divine! The pattern and instructions from the site linked are great, I am just adding something little to make it more like a real fitted diaper.


Quick glance at my charms of Summer In The City and Nest...YUM!


I take out my Swedish Tracing paper and trace the pattern just a bit larger than original.


Pin down the pattern on the fold. I added dots for where the elastic will start and stop.

Cut it out and place it on the obv. I rotary cut around the obv just a bit larger. You may not need to do this but I do since I find that the knits and obv like to shift. PIN like mad!!!!!


With the right sides together sew around the diaper. Leave a space at the back so you can turn the diaper to topstitch.


Trim the obv.


Grab your elastic, I think I used 1/4in, and place it where the dot at the top of the leg is in the pic that is 4 up from this one. It does not have to be perfect, I guessed at mine :o) Sew across it to secure and then zigzag down to the other dot and secure with a straight stitch.


After both legs are complete, turn it right side out and it will look like a crumpled mess! 

Topstitch the entire diaper making sure to allow for the elastic in the legs.


Sew on the velcro


And you have a super cute and stylish baby doll diaper!


Nora is much happier:o)


No more flat butt !


Fluffy butt! 
I did add a bit of elastic in the back for a better fit. I like the look of a really fitted diaper.


Hopefully that was pretty clear. If you have any questions feel free to contact me. These are a bit tricker to put on for the younger set ( less than 3 year olds) but it is a great fit! And I think they are super cute!

Kim :o)