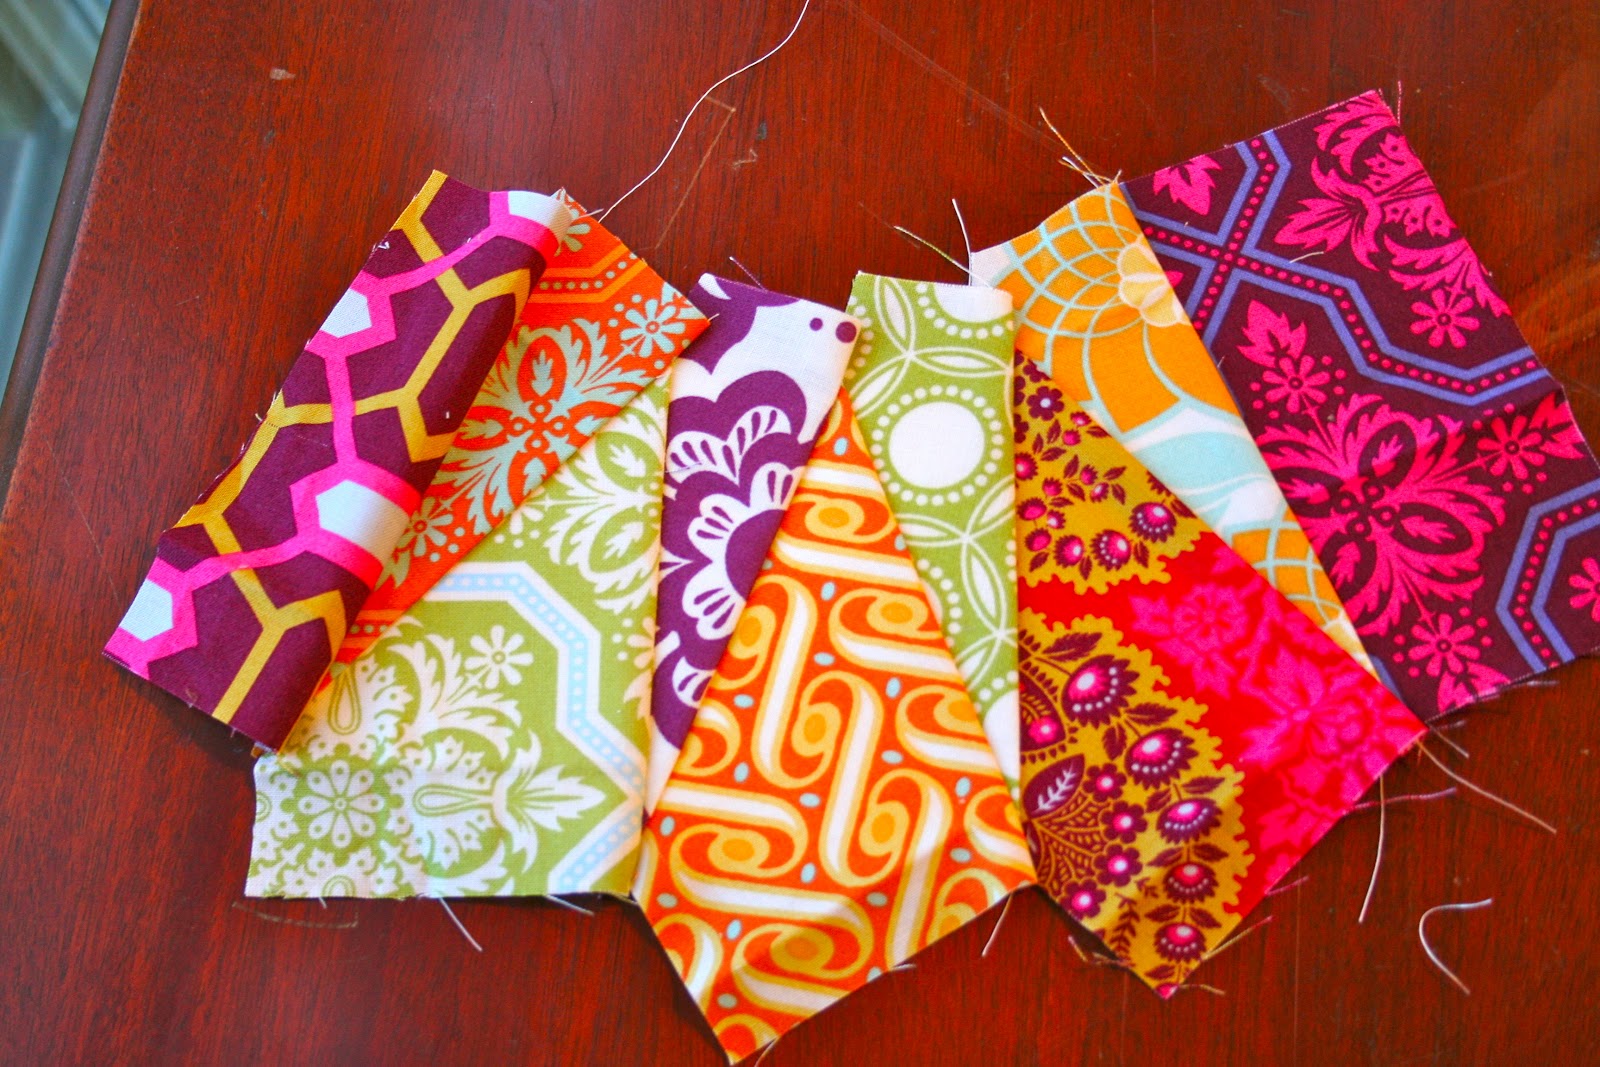
I am so happy, excited and thrilled to be sharing with you the first block ( block 0) or the beginning block for the New York Beauty Quilt Along.
Many thanks to Sara at
Sew Sweetness for inviting me to take part in a fun series!!!!
There are so many talented quilters that will be joining in this fun adventure into some of the most stunning paper piecing blocks I have ever seen!
Here is the schedule of blocks:
March 5 - Kim from My Go-Go Life {Block 0}
March 12 - Sara from Sew Sweetness {Block 5}
March 19 - Megan from Canoe Ridge Creations (Block 1}
March 26 - Kati from From the Blue Chair {Block 8}
April 2 - Jeni from In Color Order {Block 7}
April 9 - Amy from Sukie Don't You Know Who I Am? {Block 6}
April 16 - Katy from The Littlest Thistle {Block 3}
April 23 - Lee from Freshly Pieced {Block 4}
April 30 - Amy from amylouwho {Block 2}
May 7 - Lindsay from Lindsay Sews {Block 9}
I hope you will all be joining us for the entire series!!!! And please come and add your blocks to the FLICKR GROUP
This first block is a great way to practice your paper piecing before treading into some of the other blocks. It is beautiful, easy and a quick sew.
First you need to go here and print out Block 0 or the Beginner Block. If you are making a full circle ( four blocks) you will need to print out four. All the blocks in this quilt a long will be from this site.
For each block 8in ( block 0) you will need
Six 6x 2.5 in of fabricThree 6 x 3.5 in of fabricOne C pieceOne A piece
I recommend a washable glue stick, a metal ruler, and a heavy duty needle { I used a jeans needle}
You will use the 6 x 2.5in fabric pieces for the 1,2,4,6,8 and 9 sections. Use the 6 x 3.5in pieces for the 3, 5 and 7 sections.If you are making a complete circle you will need four of these sets
I made my outer section with just one of the templates. This is my personal choice, since I am using white, I like the look more { and less cutting, sewing and ironing} . You may be more comfortable with the two pieces and that is good too :o)
Using a 14x9in piece of fabric folded in half I placed the long edge on the fold and cut it out.
edit to add: One of the really nice commenters pointed out something I had not noticed. When doing this step make sure to cut the seam allowance on the bottom of the template. Cut only the bottom seam allowance. Thank you so much Katherine for letting me know!
Set your stitch length to about 1.5
When you have cut out your pieces put the B part up on a window or up to a light and you can see the lines through the paper
Place your first 6x2.5 in fabric over the first section on the back of the template with the fabric facing right side out looking at you :o) You can place a small dot of washable glue stick on the fabric to help secure it to the template.Place the second 6x2.5 in piece over the first piece right sides facing
Hold this back up to the light and you can see where your pieces are to make sure you have it placed correctly.
Using 1/4in seam, sew on the line between the 1 and 2Fold the template at the seam you just sewed
And trim to 1/4 in
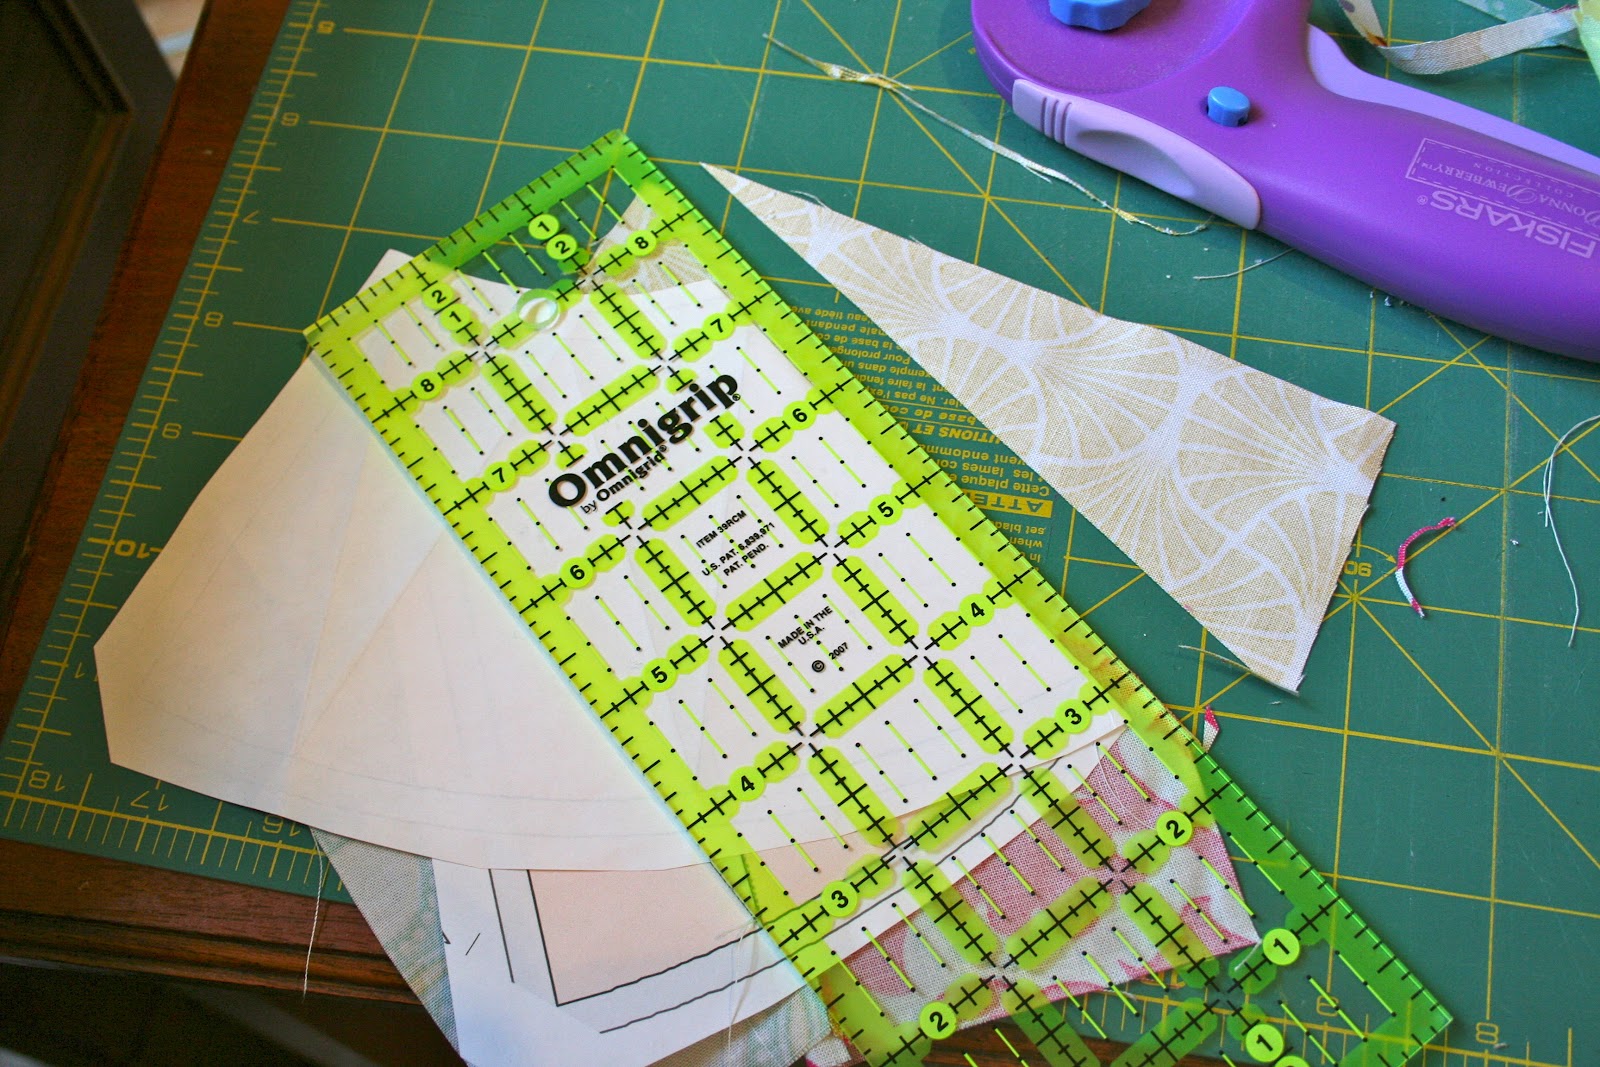
I need a little extra help in the visual department so I pre fold my next lines. I had a great suggestion from Mary @ Needled Mom that was BRILLIANT, a metal ruler. If you have one...they are EXCELLENT!!!!! Thank you Mary!!!!!
Super easy, using the side of the ruler, just prefold the lines so you have a visual of where the next line is on the unlined side of the template
I have found that pre-trimming helps speed the process for me. I find have better placing with angled paper piecing if I do this process.
After you have trimmed your seam
turn the fabric flap open
Turn the template right side facing you
With the fabric flap open, bend the template where the fold is for the next section, in this case 3 trim the flap to 1/4 using the fold as your guide
Flip back to the wrong side and open flap
Hold it up to the light to see a perfect 1/4 in for the next block to be easily placed!!!!!
Take your first 6x3.5 in piece and lay it right sides facing on the number 2 piece
Sew the line between 2 and 3
Flip open
Turn over
fold at the number 4 section
Trim to 1/4 in
Open and take your next piece of fabric, place, right sides facing...
Sew between 3 and 4
I bet you guys are getting into the paper piecing groove now!!!!! Open...
Flip....
Trim...
open and ready for the next section...
Right sides together...
And sew...
Repeat the process until you have sewn the line between 8and 9
When you have sewn all the sections you will have this!!!! Now dry press :o)Flip her over
and trim at around using the 1/4 inch guide that is on the template
Turn her back over and remove the paper
When all the paper is removed, take your part C and place it in the center of the inner circular part. Pin in place
I like to secure the ends. place a few pins between each end and the center to help when sewing the curve. Then I go a wee bit pin crazy { Hi, my name is Kim and I am a pin addict} I know there are fabulously talented people that can use one or two pins but I am seriously NOT one of those people! I love all the help I can get!!!!
I switch my heavy duty needle back to my quilting needle and set my stitch length back to it's normal setting at 2.4. Starting at the edge, sew the circular part. Go slow and make sure the bottom fabric does not bunch. I know I did not remove my pins, I normally do but I just forgot today...After removing all the pins. Repeat the process with the outer section. Find the center, pin in place and sew!!!!
When you have finished, iron the block and trim to 8.5 inches
WOO HOO!!!!! Your first beautiful block of MANY!!!!
If you are making the set of four to make a circle, after pressing. I would recommend open seams, I did not do mine with open seams and I am regretting it! Take two of the four blocks and line up the seams, pin into place and sew. Repeat with the other two blocks.
Take the two blocks and line those up, pinning the center and where the seams match.
Press open and you will have...
Thank you and I hope I was able to give a good tutorial for the first block. If you have any questions or need me to take more photos of the process please shoot me an email!I am looking forward to more in this series! Thank you so much Sara for inviting me to take part!!!!!