These courthouse steps are a wonderful way to start paper piecing if you have never tried. These blocks are also a great scrap buster. I hope you will give these a try. If you do not want to make a whole quilt you can always make a pin cushion!!!!!
I have been using the pattern from the book
Elm Creek Quilts Sylvia's Bridal Sampler . I was able to check the book out at my local library and it does have some other beautiful blocks too! I found an online free pattern
here but does not have a conversion to a 6.5 block, the chart on the bottom of their page has conversions to other sizes that you might find useful. The pattern for an 8.5 block is
here . For this tutorial all the measurements are for the 6.5 in block in the book. All seams are 1/4 in.
This will be pic overload since I am gong to try to walk you through each and every step that I do. I apologize for the bad night photography and the amount of photos. By the time you have finished your first block I know you are going to say..." Is that all there is to this" at least I hope that is what you say ;o)
If any step is unclear please shoot me a msg so hopefully I can explain it better.
What you will need
printout of your block trimmed up
glue stick
rotary cutter,
scissors
small cutting board {if you have one}
small ruler
Fabric needed:
block 1: 2x2 in print
block 2 and 3: 2x2 solid
block 4 and 5: 3.5x2 print
block 6 and 7: 3.5 2 solid
blocks 8 and 9: 5x2 in print
blocks 10 and 11: 5x2 in solid
blocks 12 and 13: 7x2 in print
Set your stitch length to about 1.5 . This will help when you tear the paper off at the end.
Take your first square 2x2 and put a wee bit of glue on the middle of the back of the fabric
Pop that sucker right in the middle of the center square
you can hold it up to the light and see that you are well over ALL the lines and that is where you want to be
I am sure there are many ways to do this but this method has been working for me because I cannot get the "where the heck do I put the next piece of fabric" thought outta my head...I need some visual cues to go by.
I prefold the lines. Then when I flip that paper over I can see where I am supposed to be next.
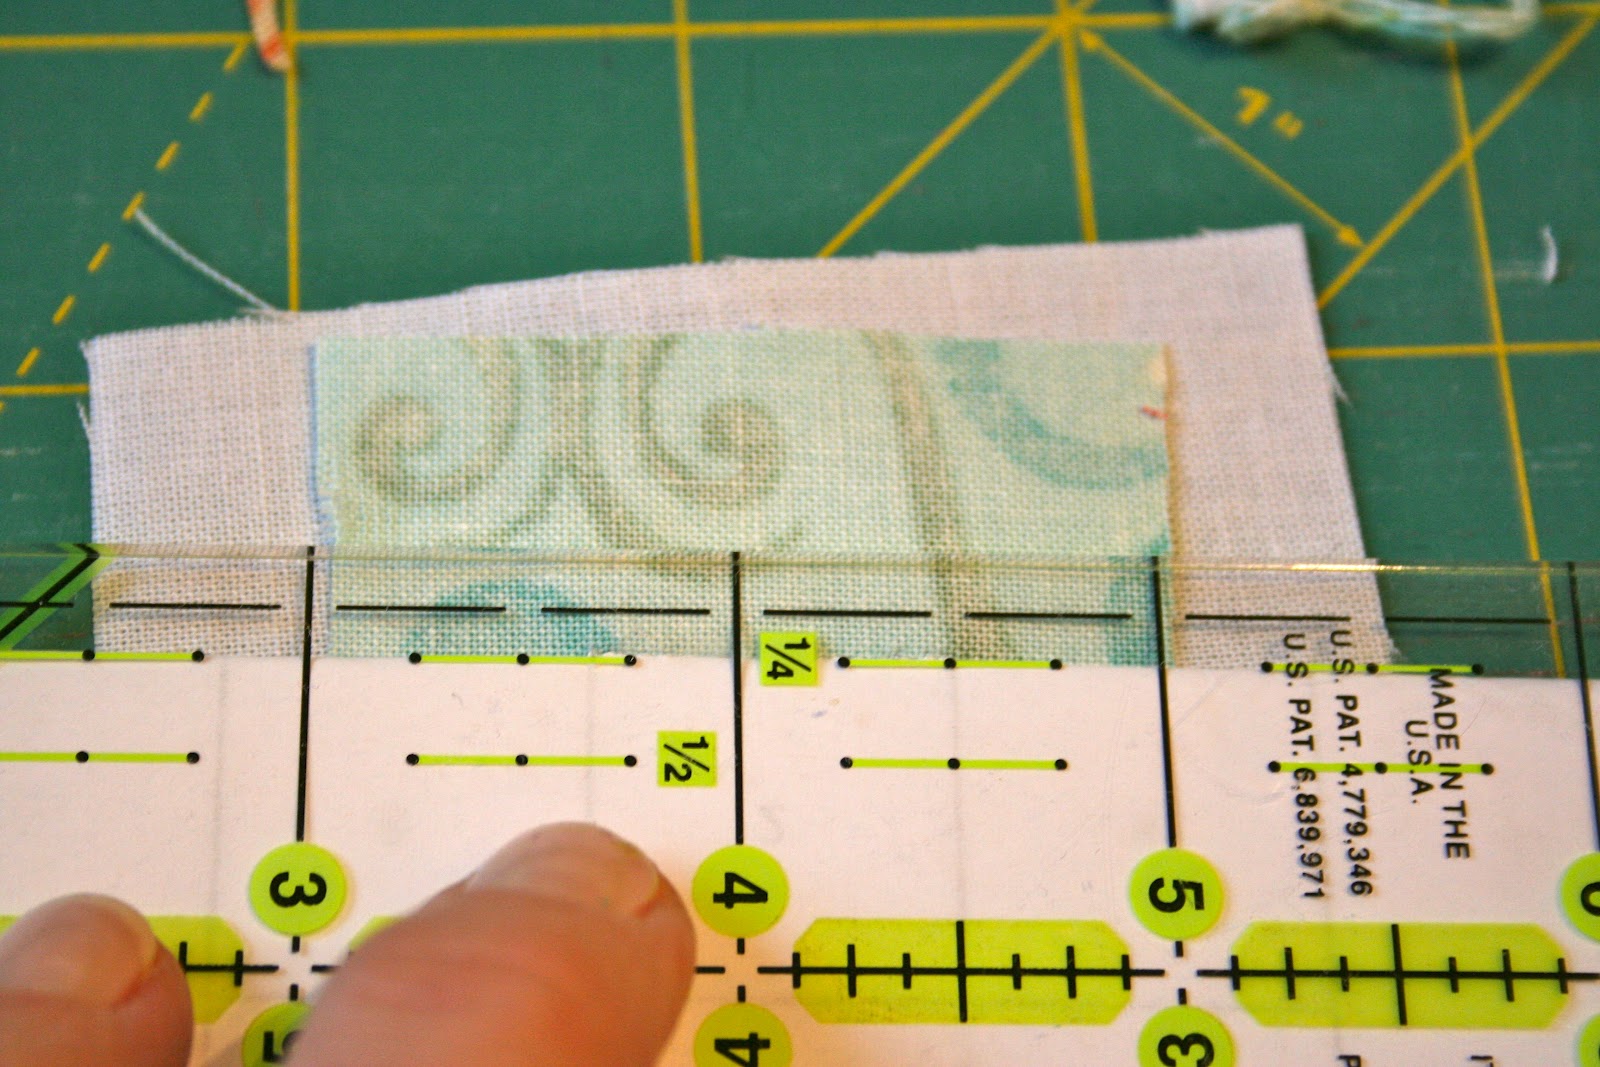
See the two lines? I cut the the white a bit too big ( it was a 3x3) but it will work. You can see where you need to place the white to make sure you have that 1/4 in seam. Since the print is glued down I just hold the solid in place when doing the flip in the next step. just make sure that the solid does not fold when you are sliding it under your foot ( that is what the seam ripper is for).
Flip the paper over and sew between the number 1 and number 2 line.
Take your paper out, trim your threads and fold at the seam you just sewed
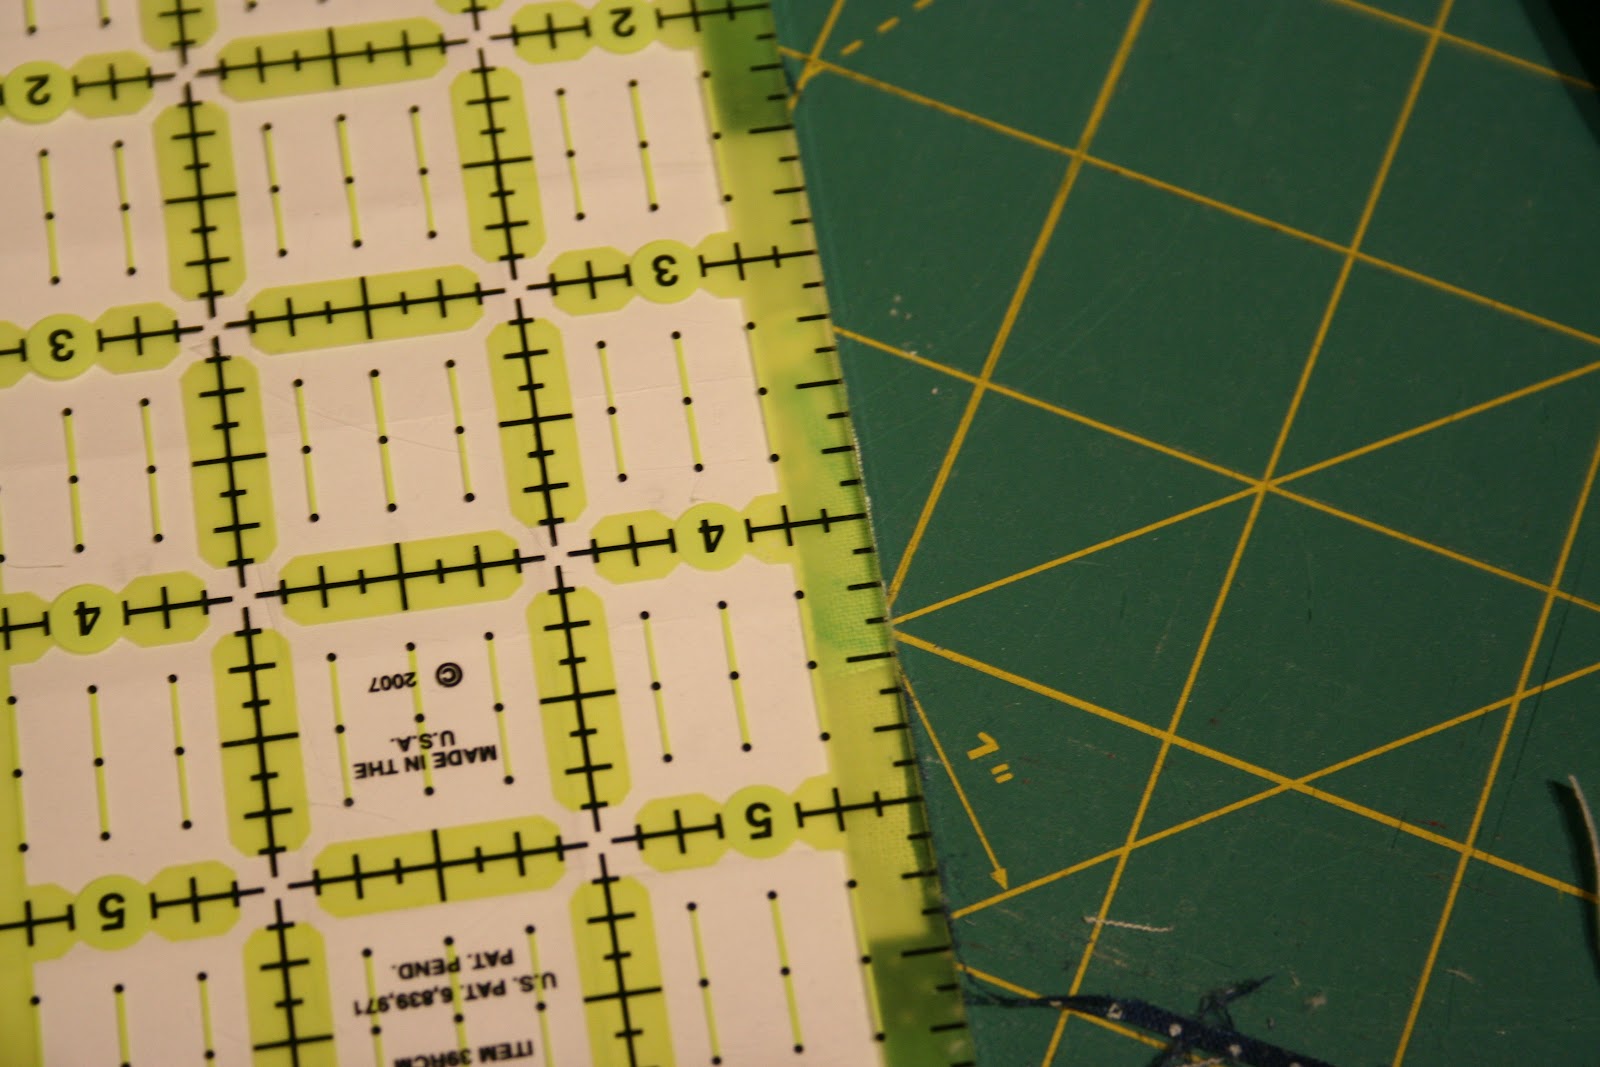
Take your ruler and trim to 1/4 in
Flip that first solid step over
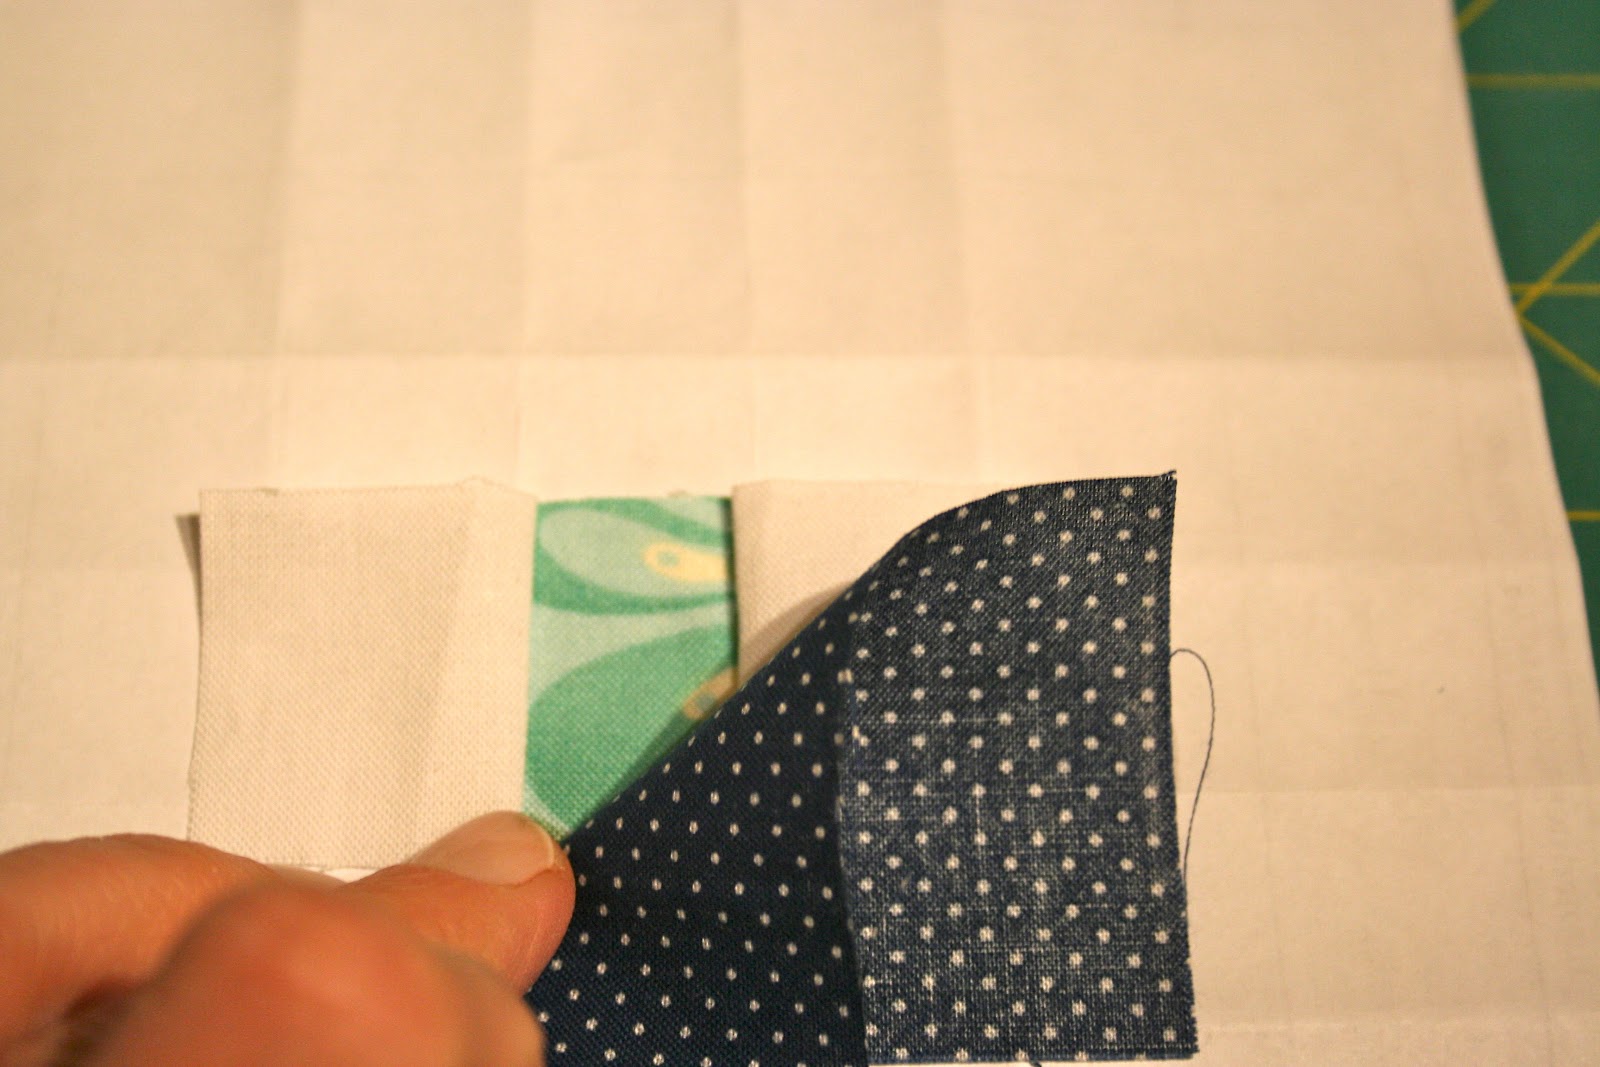
Take your second solid step and lay it on top of the the number 1 step. You can see the fold on the opposite side to be your guide.
Holding the number 3 piece on place...flip and sew...
trim, fold at the seam and trim to 1/4 in...
Flip them both open...FIRST round DONE!!!!! WOO HOO!
Time for more prefolding. pre fold the 4,5 and 6 lines
To make the lining up of the fabric steps easier, I also pre-trimmed my previous steps. You can do this by folding down the line between , for example 3 and 7 in this photo, and with the previous step fabric flap out just trim to 1/4 in.
Where the 1,2 and 3 meet for you can pre-trim also using the same technique
When doing this make sure your flaps are out
This will make lining up SO DANG EASY!
Next round of print steps and you already know that when you place this piece of fabric on it will already have 1/4 in ;o) Isn't that nice!
I forgot to take the sew in between the number shot...sorry :o( Sew between the 1,2,3 and 4 line flip and if you want to check your 1/4 in this is a good time.
Add number 5 and we are on to another round!!!! Already looking GOOD!
More pre-folding
Fold down the edges and I flipped it so you can see how much difference pre-trimming can make
Next round of solid steps. Lay your fabric on top...
Sew on the 6 line
Repeat on the 7 and you are over half way DONE!!!!!!
Pre-fold and trim up for the next round
All trimmed up and ready for the next print steps
lay the fabric down
Sew the 8 line
Turn and flip down...
Add you next step and sew on the 9 line, sooooooo close to being to the end
Pre-fold then trim
Last round of solids!!! I do not trim on this round. The final trimming will be when the last set of solids and prints are on.
Sew and flip!
Add the other side and sew on the 11 line...
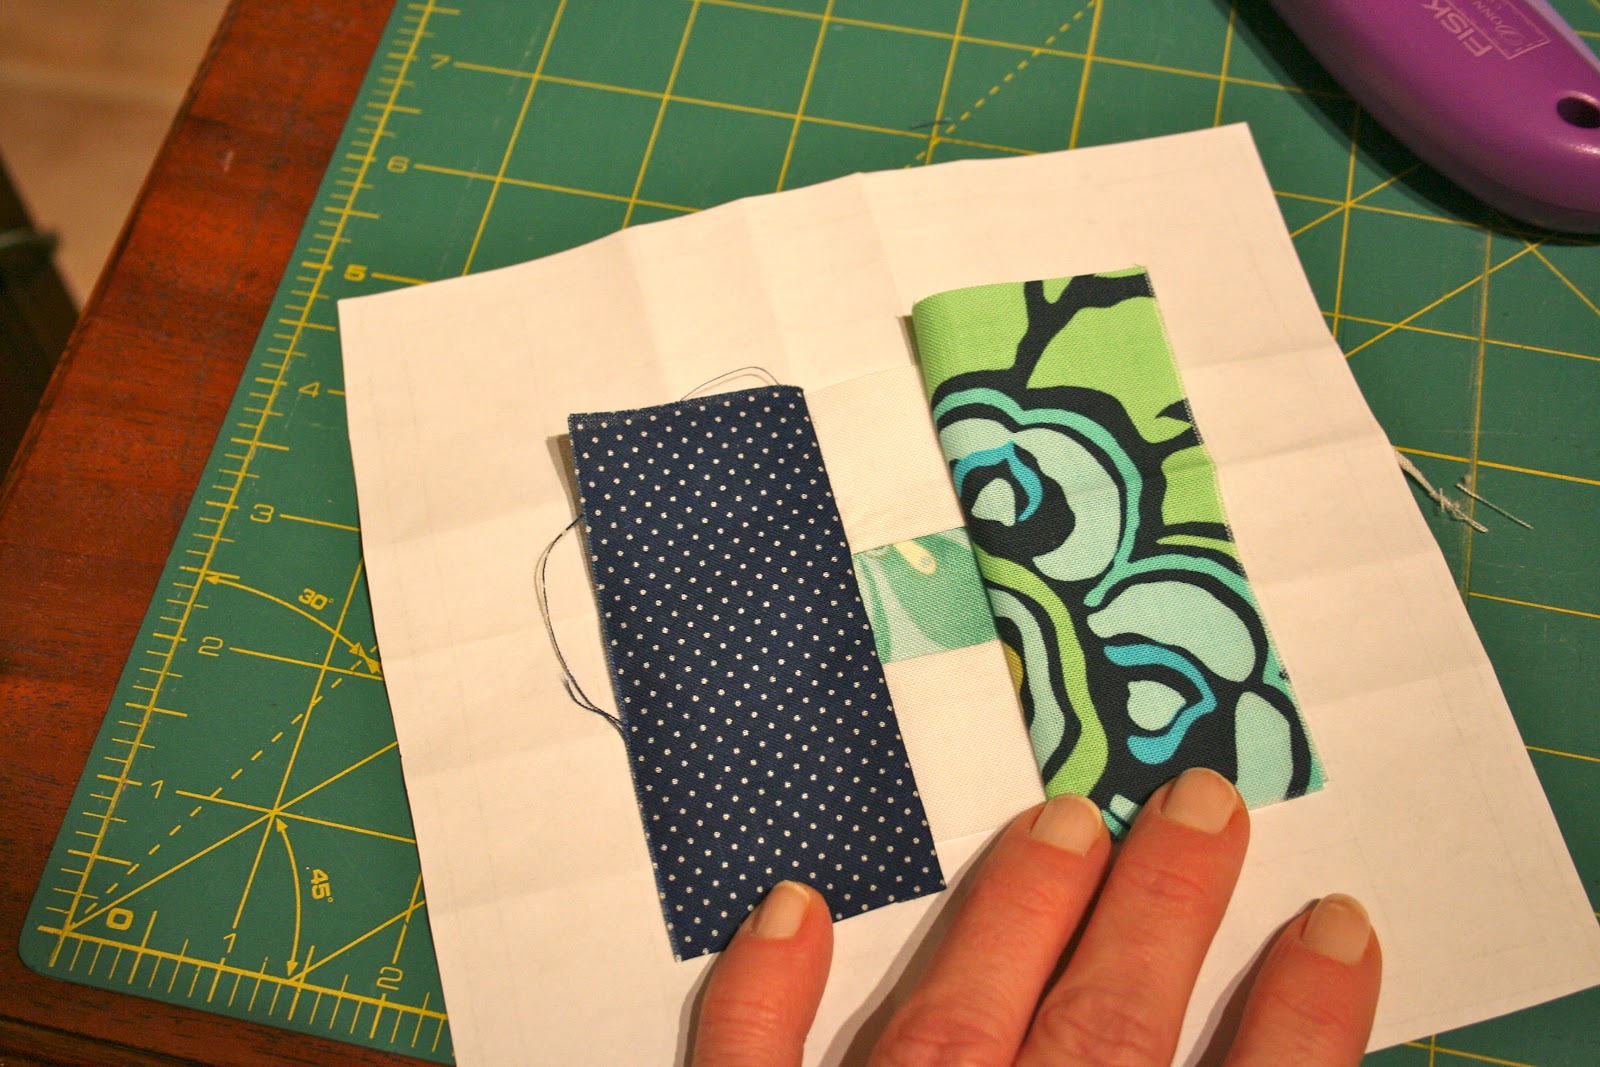
Okay, the last round of steps is here!!!! Number 12 my friends!!!!
and then lucky number 13...
All done sewing!
Give a quick dry press with the paper still on the back
Then trim around the outside line. Never ever use your good rotary cutter! I have two. This step can be done with scissors too.
All trimmed
Now carefully pull off the paper back. I try to fold first to make it easier
The sections that are not on the outside edge you can either use your nail or a little nudge with the seam ripper helps too ;o)
Then you are done!!!!! Time to go make some more!!!!!!
I hope this is helpful. These blocks have been addicting to me!
If you find yourself making some too, I'd love to see them!!!!! Just add them into my
Flickr pool. and even though it says Cathedral Windows, I really like seeing ANYTHING that you guys do, so please share!!!!!
Linked up to