
Why would you want to mask an image?
Here are two stamped scenes. The first is cute because the stamps are cute, but I like the way the second one becomes one scene with the cat at the forefront and the rest becoming a backdrop.


How do I mask my image?
First, stamp the image you want to be in the front.

Then mask, or cover up, the image (more on this later).

Finally, stamp your background image.

When you remove your mask, you will have your scene!
What are my masking options?
1. Post-It notes are handy things that you probably already have around. If you use a standard Post-It note, be sure that part of your image is on the sticky part. NOTE: Do NOT use Super Sticky Post-It notes. When they first came out I read on various blogs that they were too sticky for masking, but of course, I had to try it for myself. When I used it on watercolor paper, as I pulled it up, fibers from the paper also came up leaving it fuzzy and missing pieces of the image. When I used it on Stampin' Up Whisper White cardstock, it was so hard to get up, I left marks and depressions from trying to pry it up with my fingernail and even a craft knife.

2. Recently, they came out with Post-It Labels - absolutely perfect for masking! They are sticky on their entire surface so you don't have part of your image "rolling up" like in the above photo.

3. If you do a lot of masking, I would highly recommend Art Masking Fluid. It's fairly expensive but it's at all the big box craft stores so you can always find a coupon. It's an "art supply" so you can usually find it near the good paintbrushes and other art supplies. With the fluid, you do NOT have to do any fussy cutting - yeah!!
Simply use a small paintbrush to paint a light coat on your image, then let it dry. If you keep it a light coat - it just takes minutes to dry. (Note: some of the masking fluids claimed to be colorless - but I avoided those because I wanted to see where I had painted.)

Stamp your background image, then simply use an eraser - the masking fluid comes off easily and cleanly. I do keep a clean eraser around dedicated to this use.

One important thing to remember.
No matter which method that you choose, you do want to be careful to NOT mask to the very edge of the image.
If I cut a mask around the outside of the image, leaving the outer line, like this:

The post it note is just thick enough to leave a gap in your second image - the stamp is ever so slightly raised by the post it, so it takes a small space before it touches the paper.

This may not seem like much on my lined image, but if you are trying to do solid images, you get a white "halo" where the stamp doesn't touch:

So just make it a habit to cut inside the outer line of the image.

Hopefully I made this all quick and simple for you - have fun masking!!
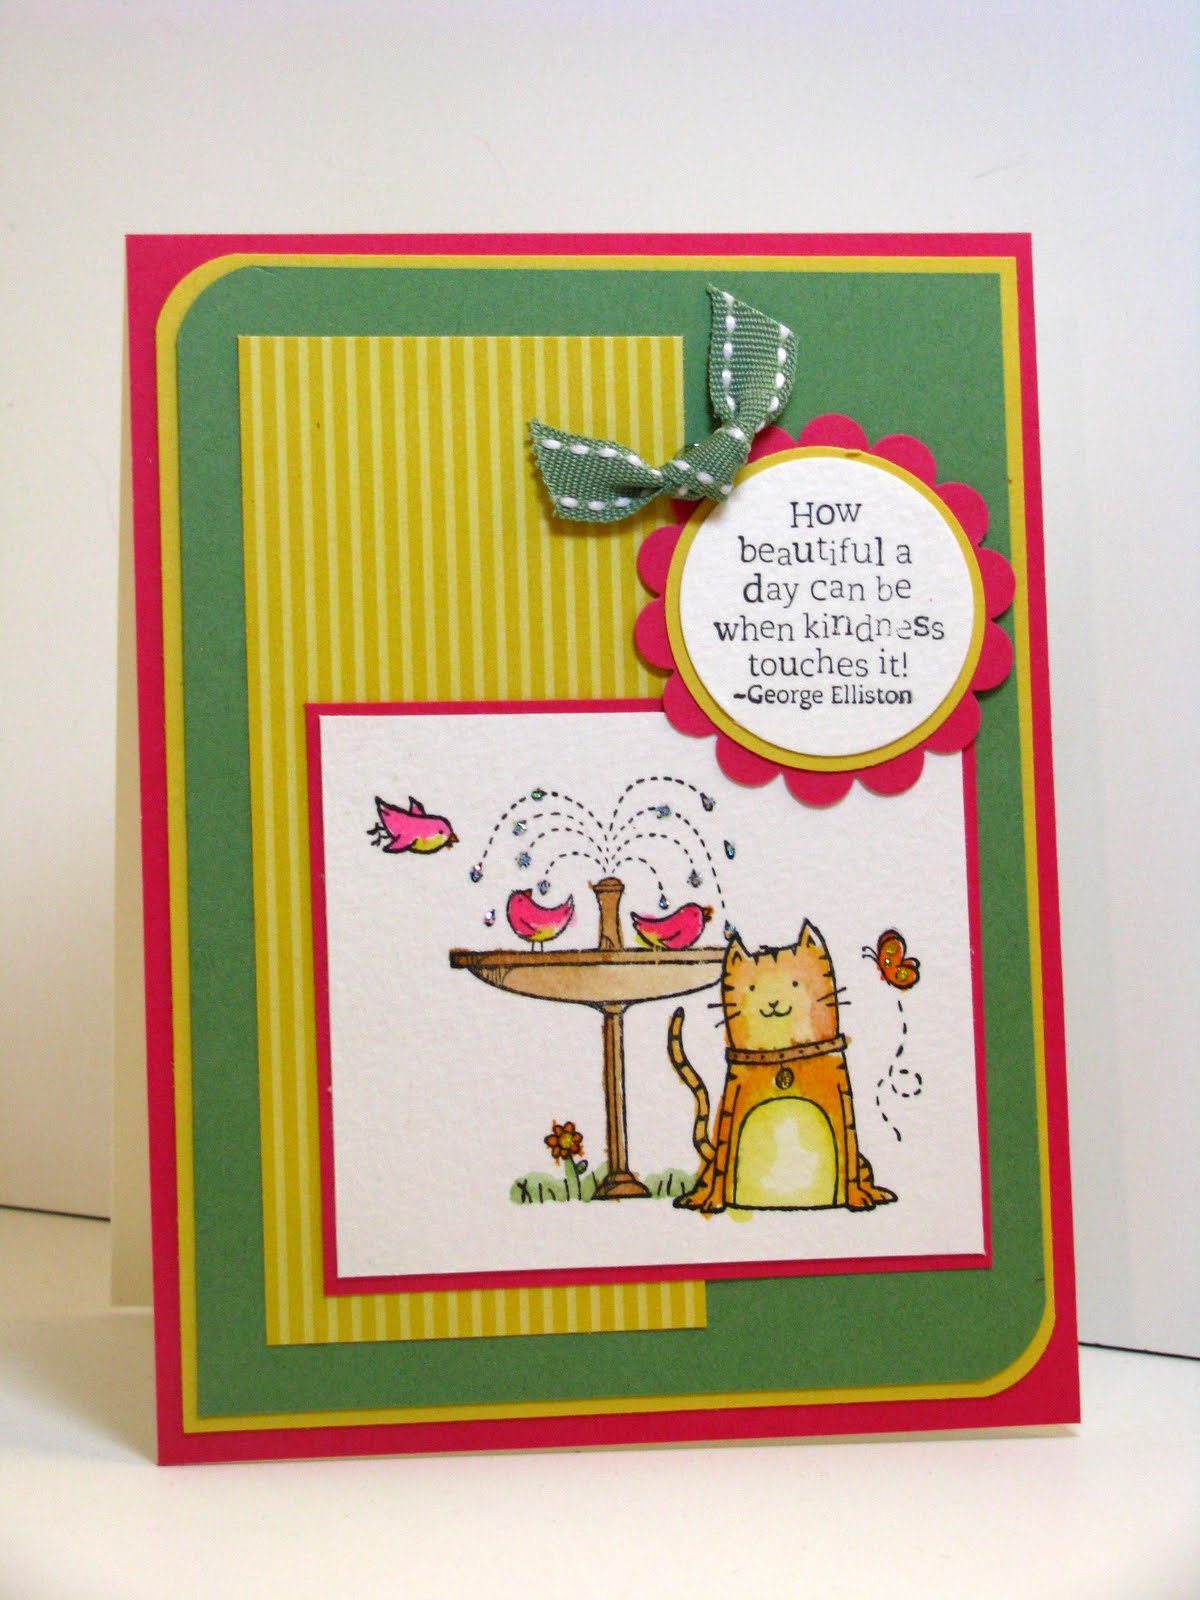
Details on my card:
- Stamps: Stampin' Up Touch of Kindness
- Ink: Staz-On Black, watercolored with Pumpkin, Daffodil, Melon, Caramel, Wasabi
- Paper: Stampin' Up watercolor paper, Melon, Wasabi, Daffodil CS and dsp
- Accessories: Arctic Ice Stickles, Stampin' Up circle and scalloped circle punches, Wasabi ribbon
- Challenges:
 |
| Stampin' Royalty Color Challenge |
 |
| Sweet Sunday Sketch Challenge |
No comments:
Post a Comment