What started a months ago as just an idea is now a tutorial! I hope you make and enjoy this fun little block as much as I do!
There are three pages to print out for this tutorial.
Page One has four Part A/ Part B print one of these. Page Two has three Part A/ Part B and one Part C. Template C is for the circles that you will need to place the circle in the block. Why use a compass if you don't have to!
For the viewmaster reel you will need:
1 heptagon center cut, 56 1.5x3in pieces, and 14 2x2 (approx size) center cuts.
Cut the paper pieces from Page One and Page Two out. The Part A and B will be cut down the center. The seam allowance for the center line will be added later.
For the outer section of the block you will need a 12.5 in square of fabric, 12 in square of freezer paper, a glue stick and a small piece of poster board.
Please read all the instructions first before starting the block.
Put the fabric and paper up to the light so you can center your fussy cut right in the middle
Place the 2x1.5 solid fabric right sides facing and making sure you have enough of an overlap for 1/4 in seam
Sew between 1 and 2 on the line
fold the line over
and trim your 1/4 in seam. I am fortunate enough to have a small table right next to my machine, you can also trim this with scissors so you do not have to get up ;o)
Place your next solid on top
flip and sew line between 1 and 3
flip over side and trim
If you have read any of my past paper piecing tutorials, I feel more comfortable prefolding and pretrimming.
Take a metal ruler and prefold lines 4 and 5
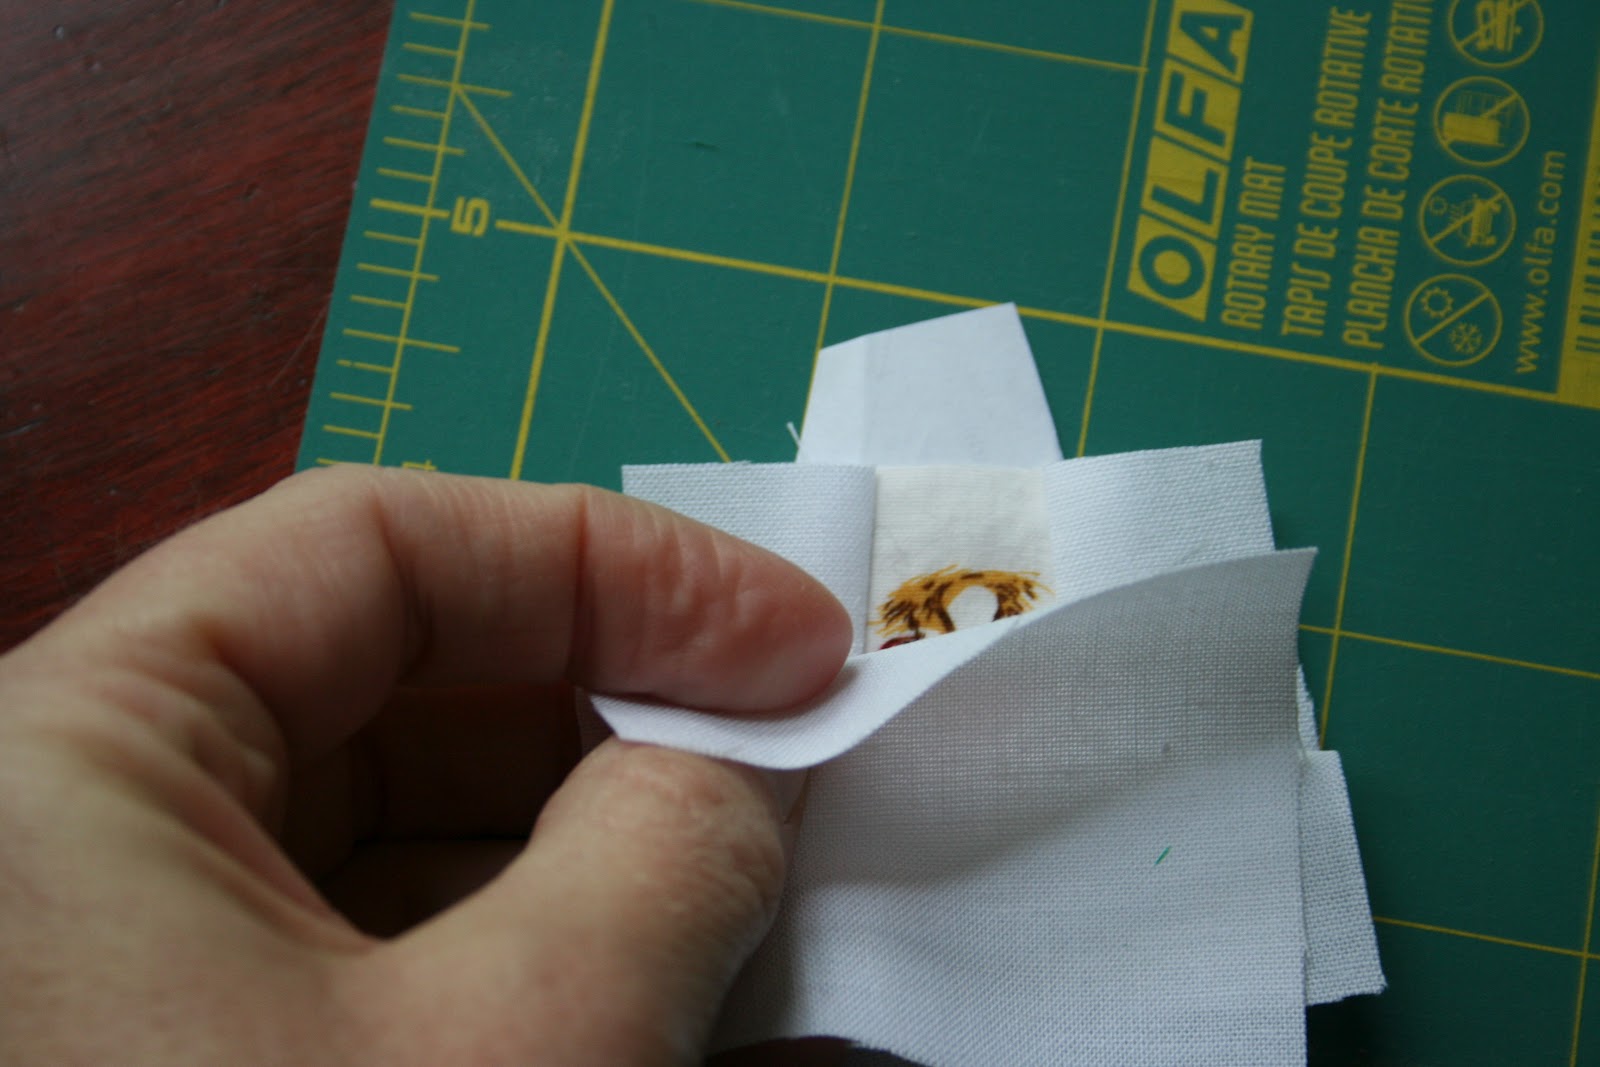
with the fabric open I fold the paper and trim to 1/4 in
Flip back over and place the next solid on the top
Sew line between 1 and 4
On the 4 and 5 lines you will sew to the end of the line and then do a securing back stitch
Now add 5
Again use a securing backstitch and sew line between one and five
Ta Da!!!!!
Make one part A and one part B
On the inner section where you made the securing stitch,
make sure to add a 1/4 in seam allowance. This is the only side you will have to add the seam allowance. The seam allowance is already added to the other sides. Trim other sides.
Tear your paper off
When you have a Part A and Part B completed line them up...
This is not the correct alignment
This one is :o)
Take a Part A and a Part B and line the window tops and bottoms up, pin
and sew them together
Iron the seam open and this what your first section will look like! Can I hear and Awwwwww, how cute,LOL! Make sure when you put the sections together that is is flat at the bottom as shown here.
Make six more of these sections using the same method above. When you have finished all seven sections. Place them how you would like them. If you will take notice of what happens when you sew the Part A and Part B together incorrectly lots of seam ripping! Don't be like Go-Go Kim...make flat bottom A and B connections ;o)
Again line up the center windows
Sew together
and you will have this dresden looking circle
Iron all the seams open
Cut a piece of poster board about 2 inches and draw a 1/4 in line across board.
Iron all sides down using the 1/4 in board as a guide. A spritz of sizing helps to keep it in place
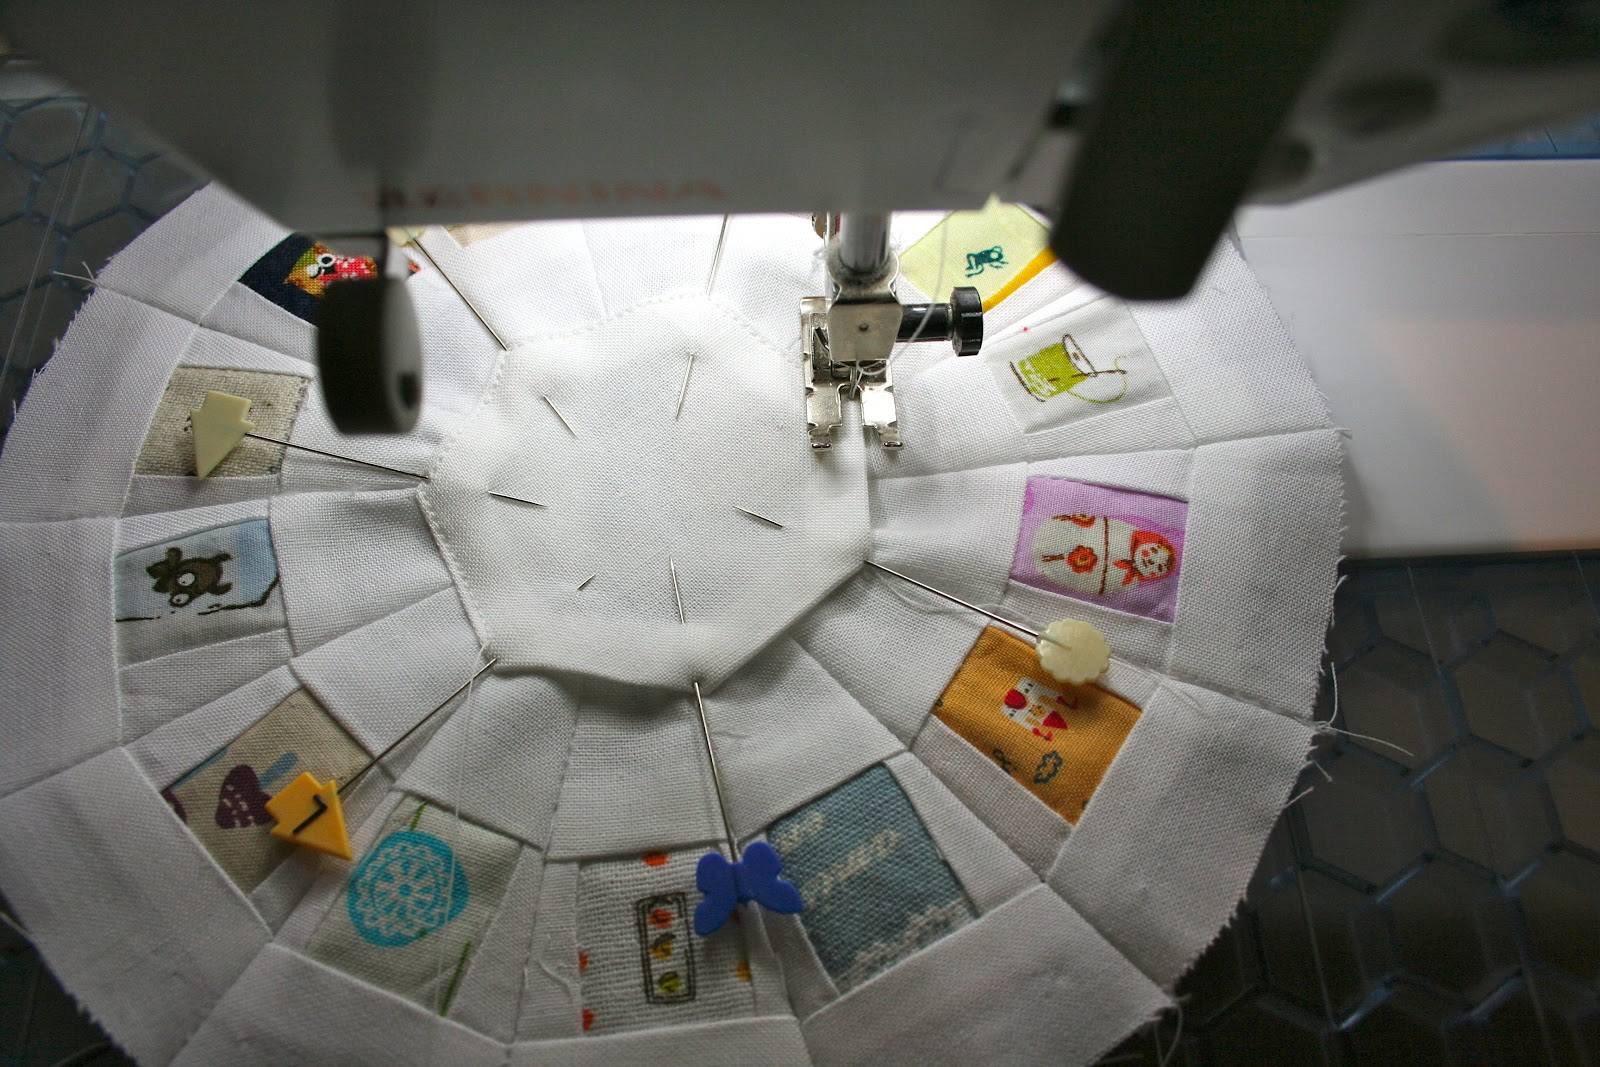
Line the hept up and pin it in place. You may have to spin it a couple of times to find the right spot. Pin at the lines to match up.
Sew it down. I used the inside of my 1/4 in seam foot
The method I used for the next section uses freezer paper.
Laurie Tigner told me about it and I could not be MORE pleased with the results there is one
here and there is another
here . I based mine on the second link but the first is great to have on hand! It is BRILLIANT and makes a perfect circle with NO PINNING! I am not going to re-do all of their fantastic work but will give you a couple of shots of how easy this was for me and if I can do it, I KNOW you can too!!!! I did not have the white school glue so I had to use my handy dandy glue stick and it seemed to work :o)
Take your circle print out ( Page 3) and your freezer paper. The outer circle should measure 6 3/4 diameter. Cut the freezer paper into a 12 in square and the fabric 12.5in ( for my mini I made it a little different sized). I found the center of the freezer paper and cut out the larger circle. Placed my freezer paper shiny side down and ironed. The smaller inner circle of the print out is the 1/2 in from the outer circle so you can use that cut out for a guide if you need it.
Find the center of the 12 in square freezer paper and draw your lines ( sorry for the bad lighting this was at 6am)
Center your print out circle and draw your alignment lines. Then draw your circle
Cut out your circle.
The one thing that was different was I placed the reel on the fabric, I flipped it to check the spacing and pinned it into place before gluing it on.
After you have sewn the reel into the circle ( using the methods in the links) you can add your special touches. Using disappearing marker, I marked what I thought I would like to see on the block. I used my machine since I need to practice my hand sewing skills.
Make many blocks for a bigger quilt or just make a mini!!!!! I chose to make a mini...this time :o) I can see a whole quilt of this being VERY fun!
I was so happy when some
Aurifil thread showed up at my door JUST in time for quilting!!!! I was very concerned since the Bernina is now a bit of a snob when it come to thread :o) I tried the
Pellon 50% cotton/ 50% soy batting and I am very impressed. I cannot wait to see how it works in some of the bigger projects I am doing.
I hope you will have fun making this block and I hope that this tutorial is very helpful :o) If you have any question please send me an email to mygogolife@yahoo.com and I will be happy to help any way I can.
I respectfully request that this pattern be for personal use only.