Summertime and the living's easy...unless you have kids, a husband, vacations to take, cars to wash and STILL would like to get some sewing completed.
I decided when I saw my
grandmother's blocks in the hat box, it was a must do for summer. The pace for summer is slower but with people to entertain ALL THE TIME there is not as much time to sew. This is a fast and easy block and with the freezer paper you can sit and watch tv or your kid's swim lessons and take it with you to trim up your pieces. I am sure this block has a real name but I will always see it as the hat box block ;o)
I like mixture of color used in the vintage blocks so I am going to try (so hard for me) to keep it as colorful, vibrant and random as the originals. NO WHITE!
Please read all instructions before starting the block. All seams are 1/4in.
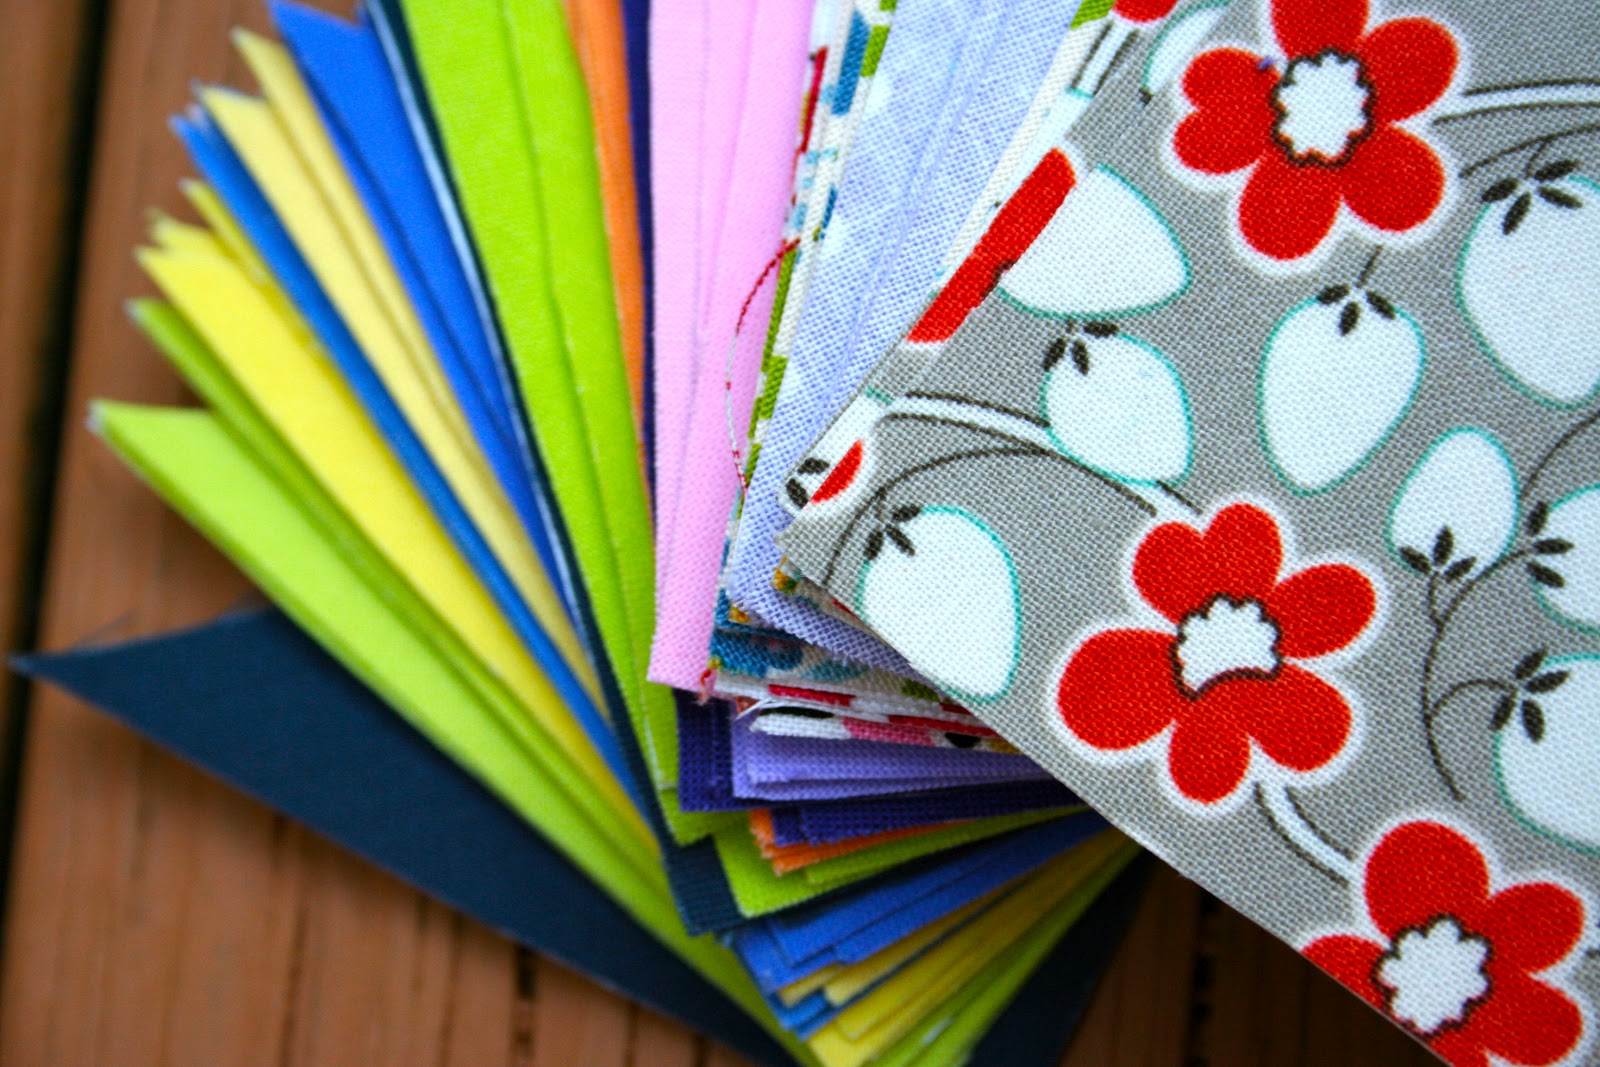
You will need for this block:
5in square of print fabric
2.5in x 18in print
2.5in x18in solid
Thread ( I always use
Aurifil 50wt)
Freezer paper cut into 8.5x11 page
The template for the triangles is here:
Triangle template ( only print out page 1)
******* There is another easy way to do these too********
If you happen to have some of these charm packs hanging around...
The freezer paper triangles fit perfectly and you have one color square ( four triangles) and two print ( one for four triangles and on five inch square, they need to be the same print so you may need more than one pack) Anyway, I found that fun and useful since you can get A LOT more colors and prints without have to buy many different fabrics... I LOVE Moda charm packs!
**********************************************************************************
Print out the triangles on your freezer paper with the printing being on the flat side not the shiny side.
Place the template, shiny side down,onto the wrong side of your fabric and iron on until the paper is stuck. This does not take very long.
Cut out the triangles along the dotted lines
Peel the paper off the fabric
You now have all your pieces ready to go!
Take one of the print and one of the solid and place them just like this. The solid on the right and the print on the left, long sides of the triangle on the outsides
Fold it over...
And if it will help you remember, place a little pin at the top so you will not forget what side to sew. I messed one up and so I did this with the rest.
Sew them together. You can save some time and thread by chain piecing, especially if you have more than one set already cut out. Press all seams open.
Fold and iron your 5in square so you have some nice guide lines
Using those guidelines, line up the centers ( the edges do not line up and that is okay),pin in place SEW!
Repeat the process until all four sides are completed
When all the sides have been sewn you will step back and say..."That block looks like CRAP!"
On my little Olfa cuttingng board next to my machine looks like this. I line up the center of the line in the angle with the point of the block
measure out 3.25 from the center line
and trimm the excess. repeat on all three other sides :o)
After it is trimmed it will be a very cute and adorable 6.5 in unfinished block
Here are the three I made this afternoon :o)
As always, if there are any questions please shoot me an email and I will try to answer as soon as and as best as I can!!!!!
I hope you enjoy and get a chance to make this block!
Linked up to