Showing posts with label Cathedral window tutorial. Show all posts

Tuesday, November 13, 2012

Need ideas for that crafter in your life?


The season for giving is quickly approaching and I know I am always looking for something new and useful for that special quilter or sewer in my life. The wonderful organizers at Sew Mama Sew have put together a few ideas for those bee members, family members or friends that love the art of sewing! Go visit Sew Mama Sew to see these and other great ideas!


Thursday, October 25, 2012

Wonky Shattered Window Cathedral Block {tutorial}

My week...my turn to share my fun block!!!!!


So happy to be here and many thanks and a shout out to Bree at My Crafty Crap,  my Magic in the Middle friends at Pellon, and the gang at Free Quilt Patterns for organizing this fantabulous sew along!!!! You are some kinda wonderful!!!!!


To download a pdf version of this pattern please visit Pellon Projects

Y'all are going to look at this tutroial and say "WAIT ONE COTTON PICKIN MINUTE", we've seen this before!"  I simply used the first part of my cathedral window pincushion to save me some time and photo shots :o)


I like to think of this block as a new modern twist on an old lovely favorite. This block is SO EASY  to do since it is the exact SAME as the traditional window it is just folded differently...you will see :o)


A new modern twist on a beautiful classic.

This is a super easy and fun wonky funky shattered glass window.  The block measures a 12.5in unfinished block. By using the traditional folding method that most of us are familiar with, it is an easy way to make a new favorite with very little extra effort. The lines are edgy and the colors bright to give the block a stained glass look. This block can be made without the border as a regular Cathedral window quilt and has a very different looking back compared to the traditional quilt. By using Pellon wonder under with craft fuse, it makes a great home dec project by giving the extra crispness to the fabric. Using Pellon wonder under and Legacy batting will give a softer finish for a quilt. Either way, it is a great project and I am very thrilled to be invited to play!


Fabric Requirements:
4 10.5in sq of background fabric
4  4.25in sq of inner window fabric ( I used Liberty of London Bloomsbury Gardens)
2   1.25inx9in strips of solid
2   1.5x 10.75strips of solid
Scrappy strips are 1.5 x of various lengths to sew and trim as final border 


Materials Needed:
4 4.25in sq Pellon Wonder Under
4 4.25in sq Pellon Craft Fuse or Pellon Legacy Batting
Thread (I use Aurifil 50wt)
Sewing machine
poster board or file folder for easy measurement
hand sewing needle


Cutting:
Cut the fabrics and interfacing to the sizes mentioned above


Assembly:

Cut your solid square 10.5 inches


Cut your template, I used a folder I found in the filing drawer, to 9 inches


Cathedral windows are mostly folding and ironing. Fold the corner over the edge of the template and iron into place. Then repeat on the other three sides.


Next fold the edges down and press. Repeat on the other three sides and you will have...

This!!!!! Woo Hoo!!!!


Take the template out at this point


Fold your square in half and press

This is what it looks like if you fold one side back


Fold the opposite way and press again. When you open your square it will look like this

Time for more folding. Fold the outer corners in and press

It will look like this when all four have been pressed


Now do it all again. Fold each of the corners in and press

Done with the folding/ ironing part!!!! Make four more of these folded babies!

This is where the tutorial changes including the color

Line the edges up 

 Draw a line and sew over the line

Line up the other two (top and bottom) draw a line and sew

Hand stitch the the inner centers, just a couple of stitches will do!

 This is where the "Magic in the Middle" ( I giggle every time I say it)  comes in to play


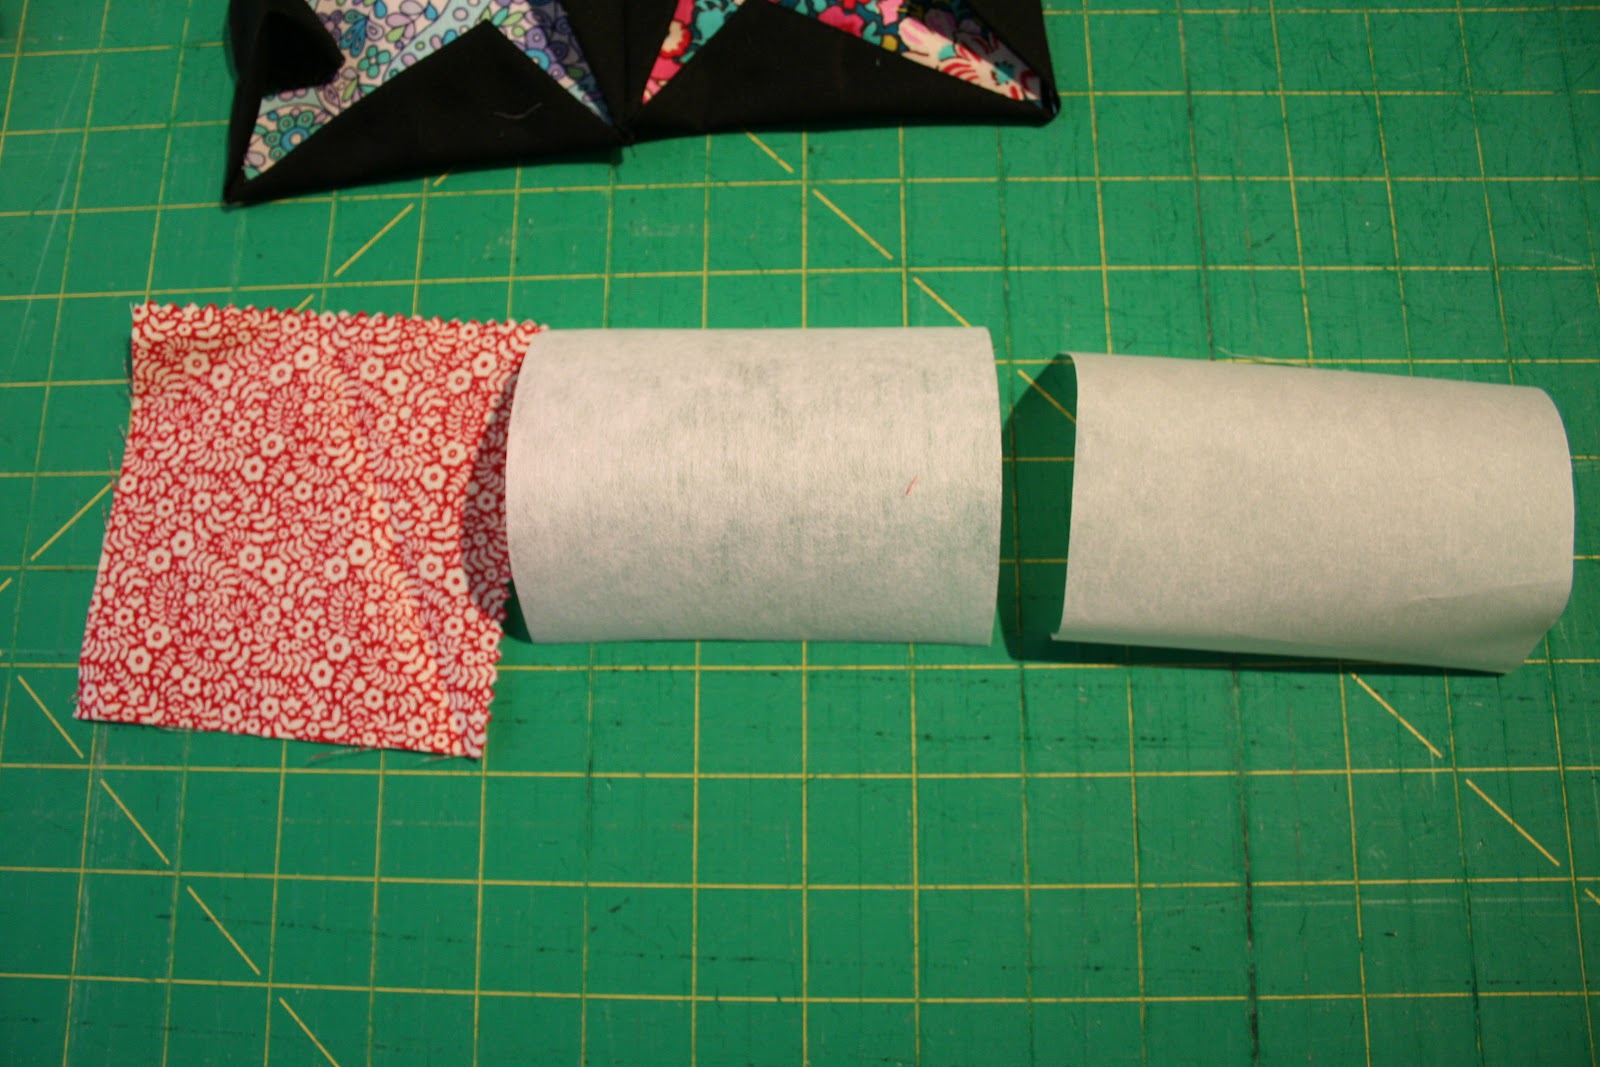
Cut your pieces out  for each inner square and attach the wonder under to the back side of the fabric, peel the backing and then iron on to the craft fuse ( or batting and you need to use two pieces of Wonder Under when using batting since batting is not fuseable)

Place in the center and use you iron to fuse the wonder under to the center of the block

 Take your point
and fold it at an angle, it will be wonky, not perfect! go around the block folding your angles

 Sew the angles into place

 This is how the back looks...I rather think is is SUPER COOL!

Add your solid 1.25 in border, then play with your scrappy 1.5 in pieces then attach and your block is COMPLETED!!!!!


Hope you have as much fun creating this block as I did!!!! I

Make sure to share your windows in the flickr group!!!!!

p.s. just in case black is not something for you I did one white one little white window just so you could see...


Thursday, December 15, 2011

Cathedral window pin cushion {tutorial}

I found a great way to try a cathedral window with one simple useful square! I wanted to make a gift for a sewing friend, a master seamstress you all know ( I am sure) and thought she could use a pincushion.  I know I seem to always need a pincushion and should probably make about a dozen of these for myself ;o)  

If after you try this one and decide you like it and want to take it further there are some great tutorials on {House} of A La Mode for a pillow and  hyena in petticoats for a whole quilt ( this is the one I was inspired by). 

You can also make a much larger version of this as a 16 in pillow for your sofa or chair , I made a tutorial for Pellon Projects and there is a FREE pdf with all the instructions ready to go! The Cathedral Window Pillow Cushion


Cut your solid square ( if you like a print) 10.5 inches


Cut your template, I used a folder I found in the filing drawer, to 9 inches


Cathedral windows are mostly folding and ironing. Now we will be doing the origami ironing. Fold the corner over the edge of the template and iron into place. Then repeat on the other three sides.


Next fold the edges down and press. Repeat on the other three sides and you will have...

This!!!!! Woo Hoo!!!!


Take the template out at this point


Fold your square in half and press

This is what it looks like if you fold one side back


Fold the opposite way and press again. When you open your square it will look like this

Time for more folding. Fold the outer corners in and press

It will look like this when all four have been pressed


Now do it all again. Fold each of the corners in and press

Done with the folding/ ironing part!!!!

This part is optional. I wanted to have the fabric in the center but you do not have to when you make yours :o) I cut a 4.25 in square and placed it in the center


When you close the doors it looks like this


A quick stitch in both directions to secure it in place 


Grab that scrap bin and start pulling out some of your favorites!!!! 

This is not perfect so you can just fiddle and put what you like. 


when you figure out what you like then place it in one side and fold over the side. It will almost naturally fall into a beautiful curve. If you feel like you need to pin it into place.

Starting at the top of the curve sew it into place. I like to use the center mark of my foot as my guide


Almost done!!!!


The backing is one piece of 7 in sq fabric ( I used a bigger cut in this pic but it is not necessary) cut in half. Se this together leaving a 2.5in gap in the center for turning later.


Center the block on top


Sew around all four corners


Trim the excess

Turn the cushion inside out and stuff!!!!! I closed mine using the magnifying glass and a blindstitch, which seemed pretty appropriate.

Add a button and there is a beautiful cathedral window and a wonderful quick gift!!!


I hope you enjoy making this as much as I did!!!! Sara, I hope you love your new cushion!!!!!

I have started a flickr group and would LOVE for you to share your pincushions {or anything else really}. It is for cathedral windows of all kinds! Hope to see your creations soon!!!!!!
Cathedral Windows Flickr Group

Linked to Finish it up Friday
Kim :o)