I have been making this bib for years! It has withstood the test of hundreds of babies. I still have wonderful friends tell me they have been passed on to a niece, nephew or dear friend and are being loved by all that use them. Sure does my little heart good! This is an updated version with a link to a FREE printable pdf on Pellon Projects!
So easy to do, you will want to make them for everyone you know that is having a baby! Cute , easy and reversible not to mention a fun stash basher project! The choices are endless once you have the basic method in place.
Requirements:
For a basic bib you will need two pieces of fabric 15x13. If you are doing a variation of the pattern, like the two toned bib, you will need a 7.5inx 13in top piece and a 9x13 in bottom piece.
One piece of Pellon Nature's Touch Batting
Thread, I recommend Aurifil 50wt or 40wt in many colors! They are all beautiful and so strong to hold up to thousands of washings!
Fastener, I use resin snaps on all my bibs. Velcro can also be used in place of snaps
Optional:
Pellon 830 Easy Pattern
Print out the pattern pieces Part A and Part B. Line them up and cut the pattern out.
I recommend tracing pattern onto Pellon 830 Easy Pattern. It will withstand MANY uses as opposed to paper patterns.
For this bib I am using Thomas Knauer Asbury from Andover . Super fun fabrics! Choose two fabrics the top here is 7.5x 13 and the bottom is 9x13. right sides facing sew together using a 1/4in seam, then press seam towards the bottom.
Place your sewn section on top of the Pellon batting
Using a 1/8in seam topstitch the fabric to the batting
lay the top piece on top of the backing fabric. Make sure your backing fabric is wrong side up
Lay your pattern on top of the sandwich, pin and cut out.
Take the back fabric and flip it to the front so that the right sides are facing
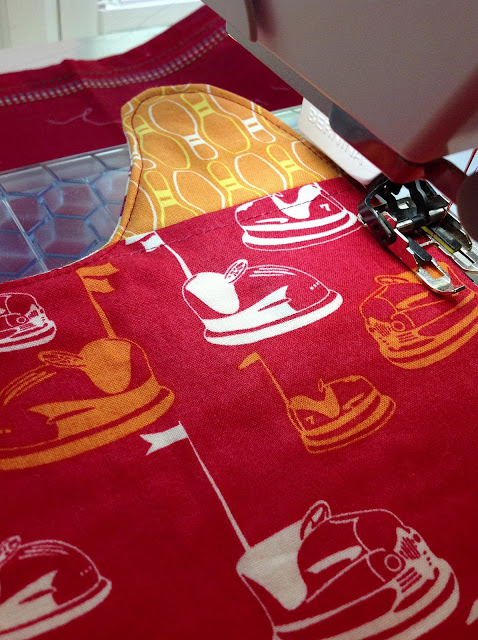
Pin and sew around the entire bib leaving a 1 to 1.5in opening at the top for turning. Back stitch at the start and end.
Turn the bib inside out
Pin the 1 to 1.5in opening closed
Topstitch around entire bib using a 1/8in seam. I like using a contrasting thread for a little more fun.
Iron your cute bibs!
The only thing left to do is the closure. If you are using velcro, please follow the recommend guidelines provided on the package. If you are using snaps, there is a snap placement guide on the pattern that make this an adjustable bib or you can place them wherever it works best for your baby.
I have a standard size snap press but your local fabric store may have a hand held snap press.
You will need two backs and one male and one female piece
Push the back into the end
this is how it will look on the opposite side
Place the male piece on top
and let the snap press to do the work!
Repeat the process for the female side and you are DONE!!!!
Once you have your closure completed, your bib is baby ready!
To download a free pdf for this bib pattern please visit: Pellon Projects Best Bibs on the Block


No comments:
Post a Comment